Looking into the Grand Canyon from Bright Angel Trail
AN OVERVIEW:
The Grand Canyon may just be one of the most iconic examples of grandeur in nature. For the more daring adventurers, perhaps one of the best ways to see just how big it is would be to try hiking the Canyon from Rim to Rim to Rim. Of course this hike could be modified in any way, shape, or form. A more popular version of this is simply hiking Rim to Rim (South to North) and placing a car at both ends for pick up. Yet another option is hiking a loop of the South Rim from Bright Angel to South Kaibab, with a park shuttle able to take hikers from the end of the trail to their car.
RIM TO RIM TO RIM - THE ROUTE:
Okay, so you've decided to do the BIG hike. Here's what to expect: 50 miles over rock, dirt, steep cliffs, and winding canyons. While some hikers attempt this hike in one day, I do strongly recommend to do this over two or three days. The route can vary on which Rim and which trail you decide to begin your hike. I will suggest here a route and agenda that worked well for me.
Day One: Camp at Mather Campground on the South Rim. Tent and car camping is $18 a site. At Mather Campground you are just a few minutes drive to Bright Angel Trailhead.
Day Two: Park car at Bright Angel trailhead and begin the epic journey. Take Bright Angel to North Kaibab. You will pass the Colorado River and then Phantom Ranch (and also many other campgrounds including Cottonwood). Camp at the North Rim. No backcountry permits are needed if camping is done on top of the Rims, but is needed if camping in the Canyon.
Day Three: Hike North Kaibab to South Kaibab. Take the park shuttle from South Kaibab trailhead to the trailhead of Bright Angel to pick up your car.
*Note: You can approximately count on 25 miles of hiking a day from Rim to Rim. It should take an average hiker of good shape and a decent pace from 10-14 hours of hiking to go Rim to Rim.
WEATHER AND WATER:
Weather is going to be a determining factor in planning your hike. Spring and fall months are gonna be your best bet when temperatures are much cooler. DO NOT ATTEMPT this hike in summer months, or if you do, use extreme caution.
There are water stations along the trail to fill up, however, there is NO WATER available along the South Kaibab trail (please plan accordingly). I carried 4 liters of water on me at all times and I was able to refill at each water station. I had no issues, but remember that everyone is different when it comes to water intake. Having a source of electrolytes is also very important. I suggest Gatorade or Propel packets to mix in water. Coconut water is also a great source of energy.
VIEWS

Sunrise at Bright Angel Trailhead
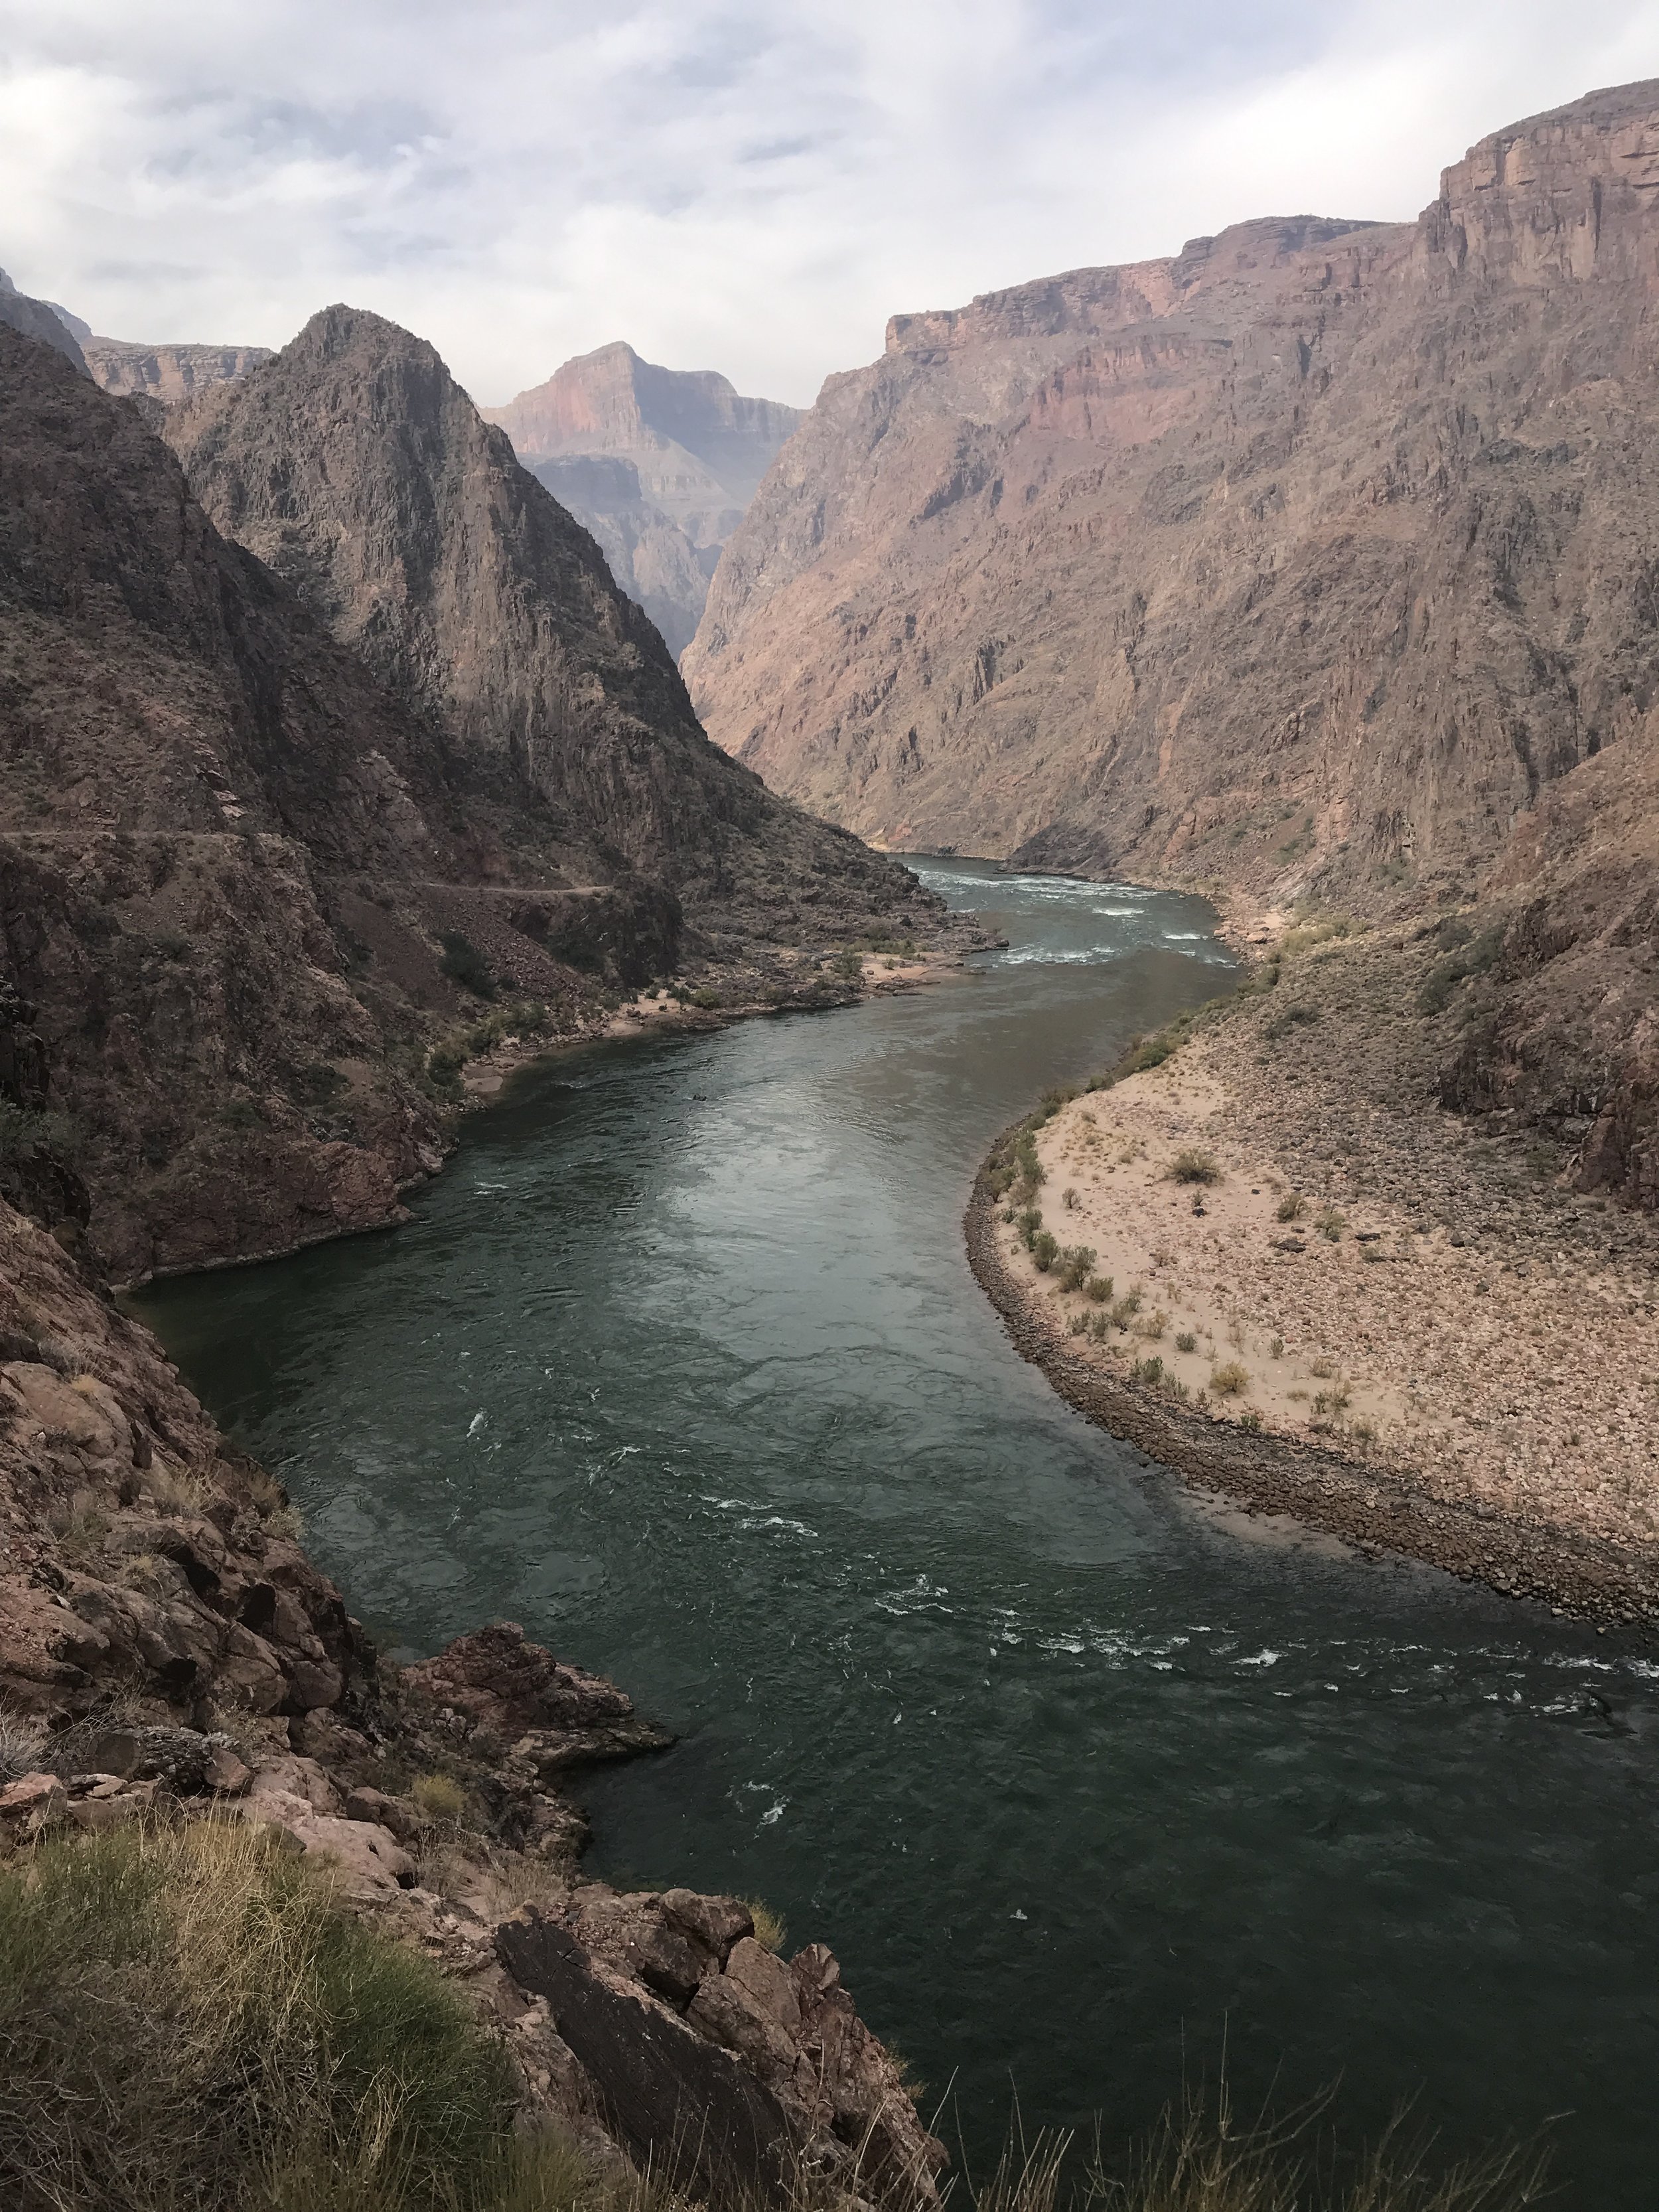
The mighty Colorado River flowing through the Grand Canyon

Views of the North Rim from South Rim
WHAT TO BRING:
- Tennis shoes or a comfortable pair of hiking boots
- Extra pairs of socks and appropriate clothing.
- Tent, sleeping bag, sleeping pad
- 4 liters of water (plus water filter)
- Meals, snacks (GU Gels)
- Jet Boil and matches if cooking meals
- Headlight
- Sunscreen
- The list continues...remember that you are hiking around 50 miles so the lighter your pack the better.
* There is food and drink sold at the Lodges at both the South and North Rim. Food and drink is also sold at Phantom Ranch, a set of cottages at the bottom of the Canyon almost directly in between South and North Rim. I would check ahead to see if these locations are open before heading into the Canyon.
CAUTION:
As usual with these kind of hikes make sure that you take the time to prepare yourself. Tell someone else about your travel plans. Pack and prepare adequately, hydrate, and bring enough nutrition to power you through. If you have any questions I'd be happy to answer them. Happy hiking!