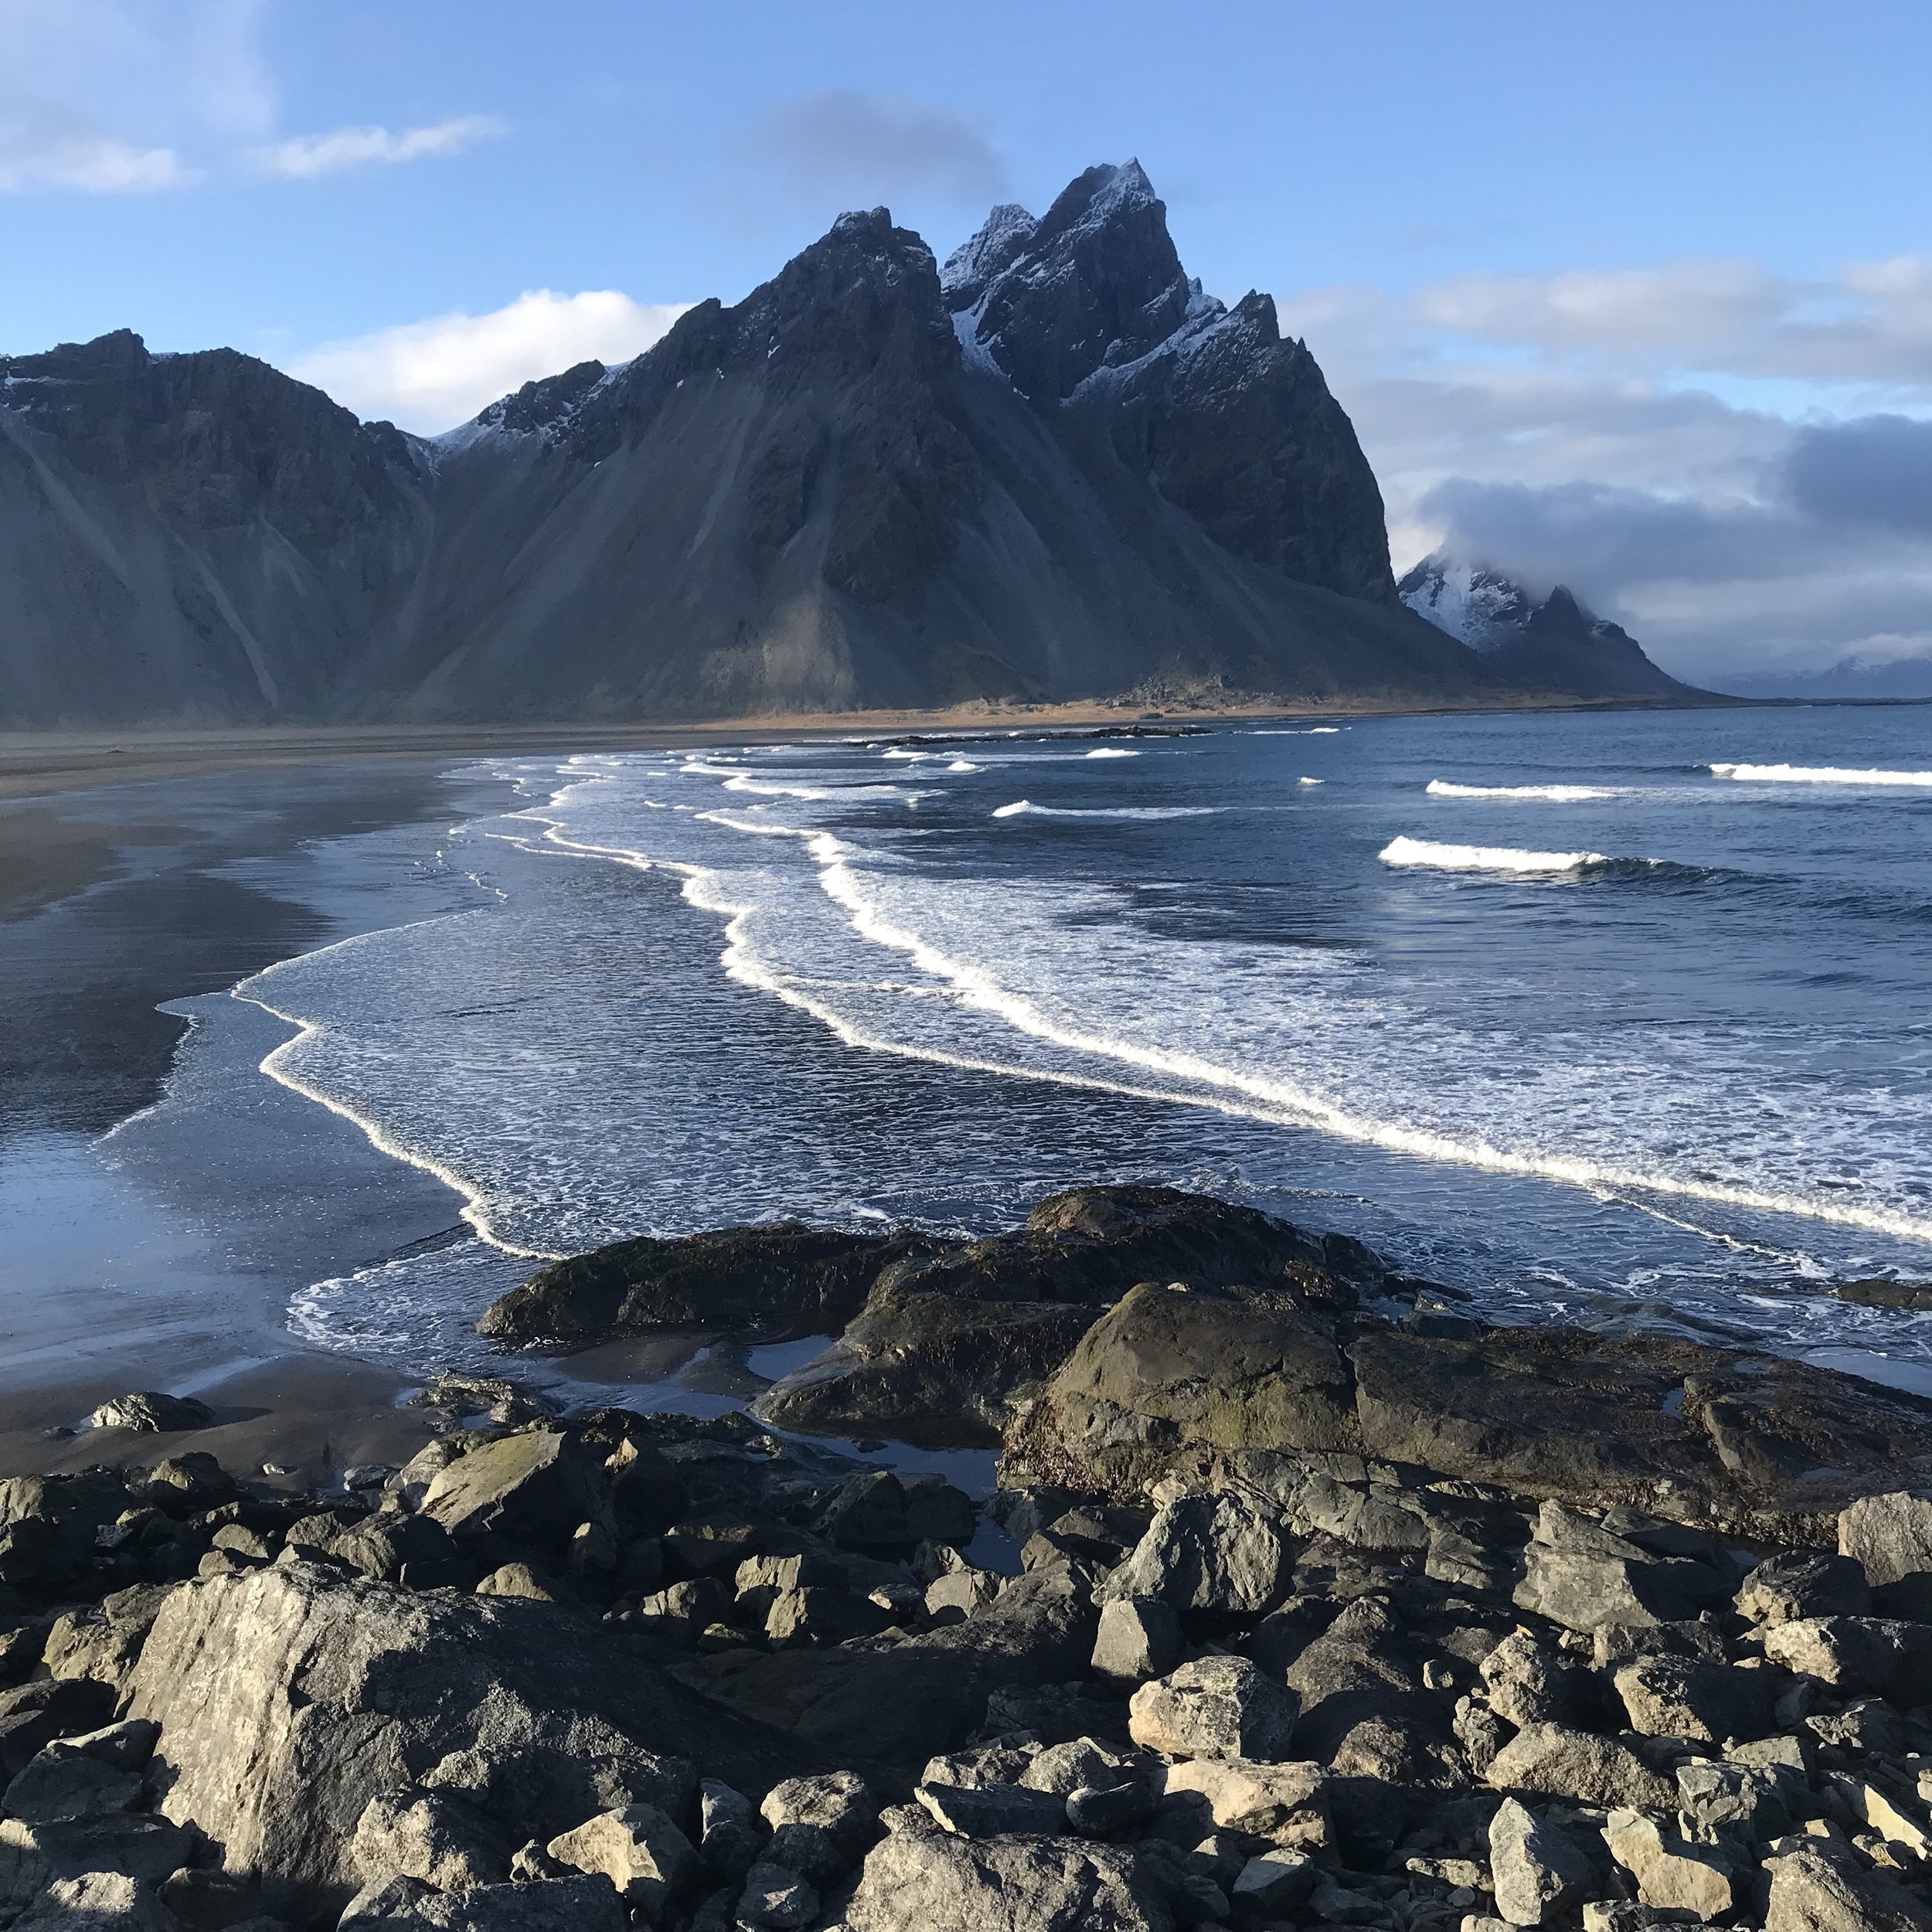
Stokness, one of the many wonders you'll expereince as your travel Iceland's ring road
LET'S JUMP RIGHT IN:
So you're tired of seeing all those Iceland pictures on Instagram and have finally decided to make the trip to see for yourself! Now you're just looking for how to plan. Perfect! Here is a quick and simple one week itinerary of how to get the most out of your journey.
THE RING ROAD:
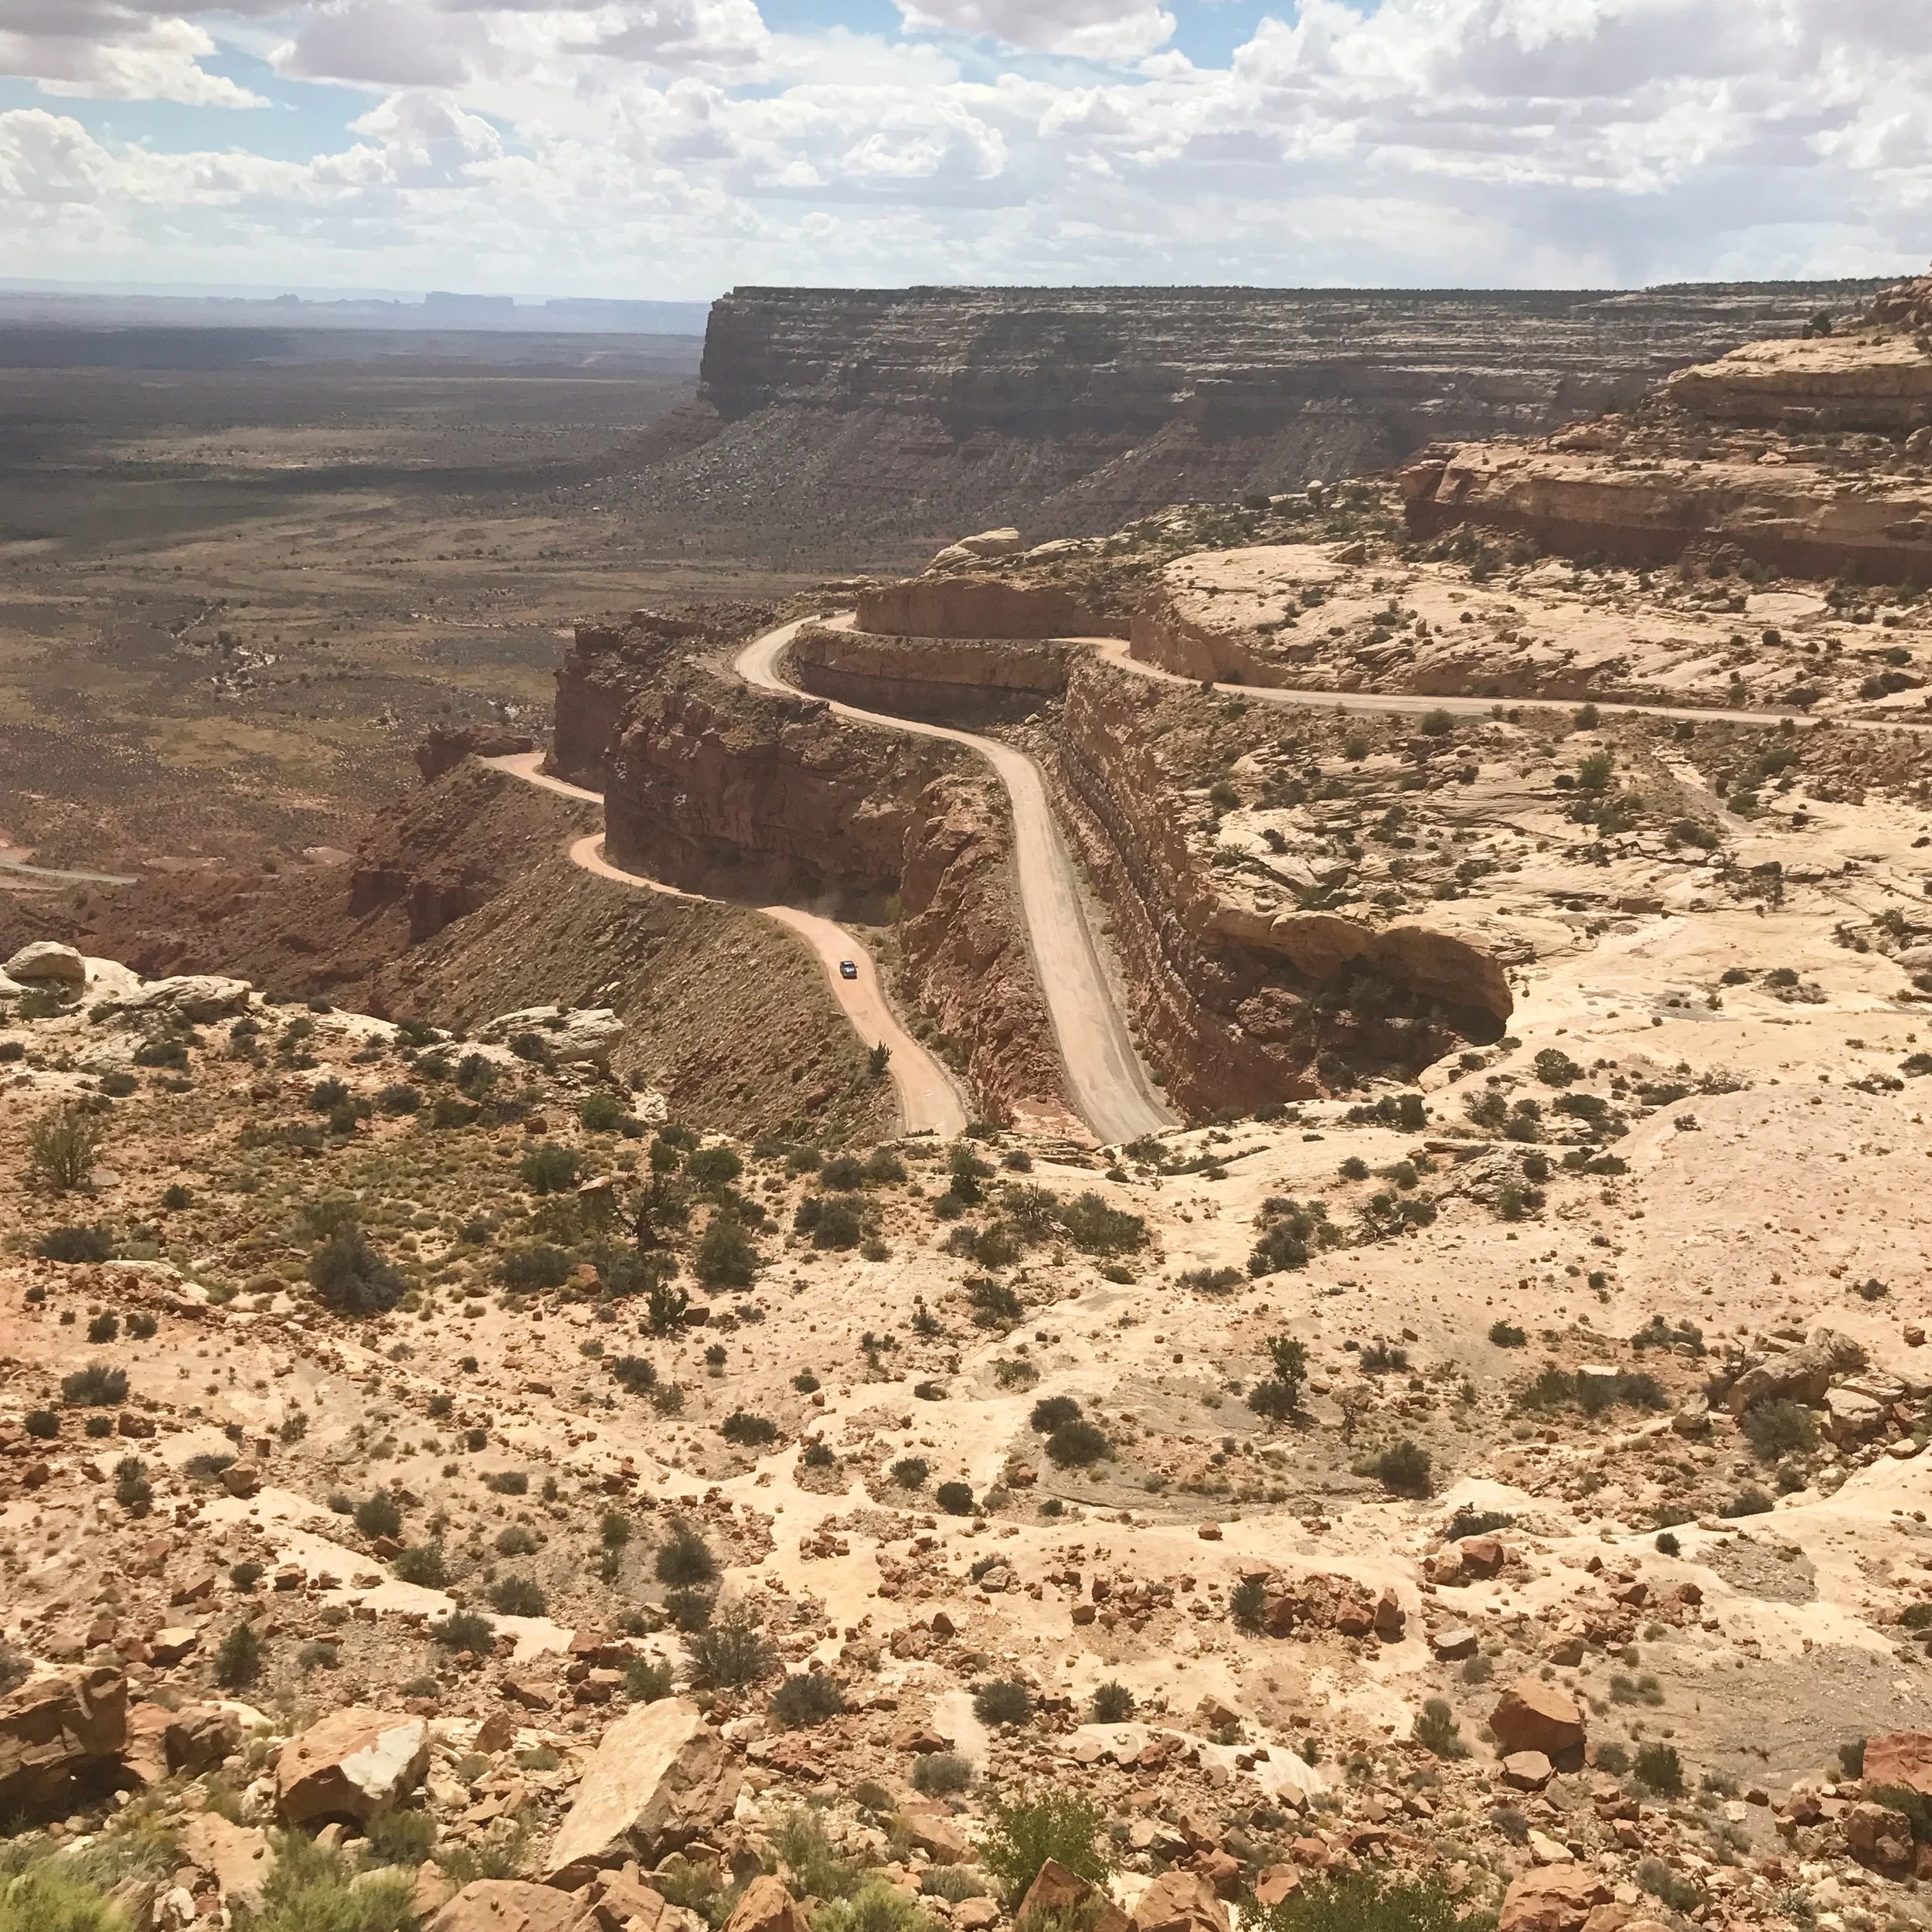
The ring road is approximately 800 miles (1300 kilometers) that traces the perimeter of Iceland. If you have 7-10 days, it's arguably the best way to experience this beautiful country. The road is two lanes, mainly paved, unless you are taking some shortcuts (which may be dirt or gravel roads), and is in fairly good shape (minus a few potholes).
STEP #1: GET A RENTAL CAR
Yup. It's super easy. A one week rental from any of the major car rental agencies runs around $300 for the week, depending on how much insurance you're willing to get on it. Looking to camp in a van? There are plenty of options for that too! It is a bit more expensive... unless, of course, you're splitting the cost amongst friends.
STEP #2: HOUSING
There are lots of ways to experience Iceland. The two most reasonable ways to travel the ring road, given the weather, are either car-camping or airbnb-ing. As for my trip, I found reasonably priced airbnb's (around $100/night) in each of the places listed below.
STEP #3: PLACES TO STAY
Okay, now we're getting into it. Let's say you have one week to travel (it'll take at least one week to do the full ring). Here are some great cities/towns to stay in or explore. Together they give a great feel for the Iceland experience. Posted below is a map for your reference to the ring road:

Ring Road
A: KEFLAVIK AIRPORT TO REYKJAVIK
You've just landed at Keflavik airport. If you get in early in the day, you can make a morning or afternoon at the Blue Lagoon. It's a little pricey (around $60-70), but it's a classic sight, especially if you're looking to take a dip in the local hot springs. If you arrive later in the afternoon or evening, you can head directly to the capital city of Reykjavik. There you will be able to find several places to eat or get groceries, and also many reasonably priced places to stay the night.
*If you are staying more than a week, I strongly recommend driving the Golden Circle before continuing the ring road. Give yourself at least one to two days to do this.

Blue Lagoon
A TO B: REYKJAVIK TO VIK
Along the road from Reykjavik to Vik, you'll find a slew of gems - waterfalls, black sand beaches, even an airplane wreckage site... just to name a few.
When you arrive at Vik, there you'll find a quaint and cozy town with plenty to do. Vik is great for bird watching (namely for puffins - those cute orange and white looking birds) and walking the black sand beaches of Dyrholaey.
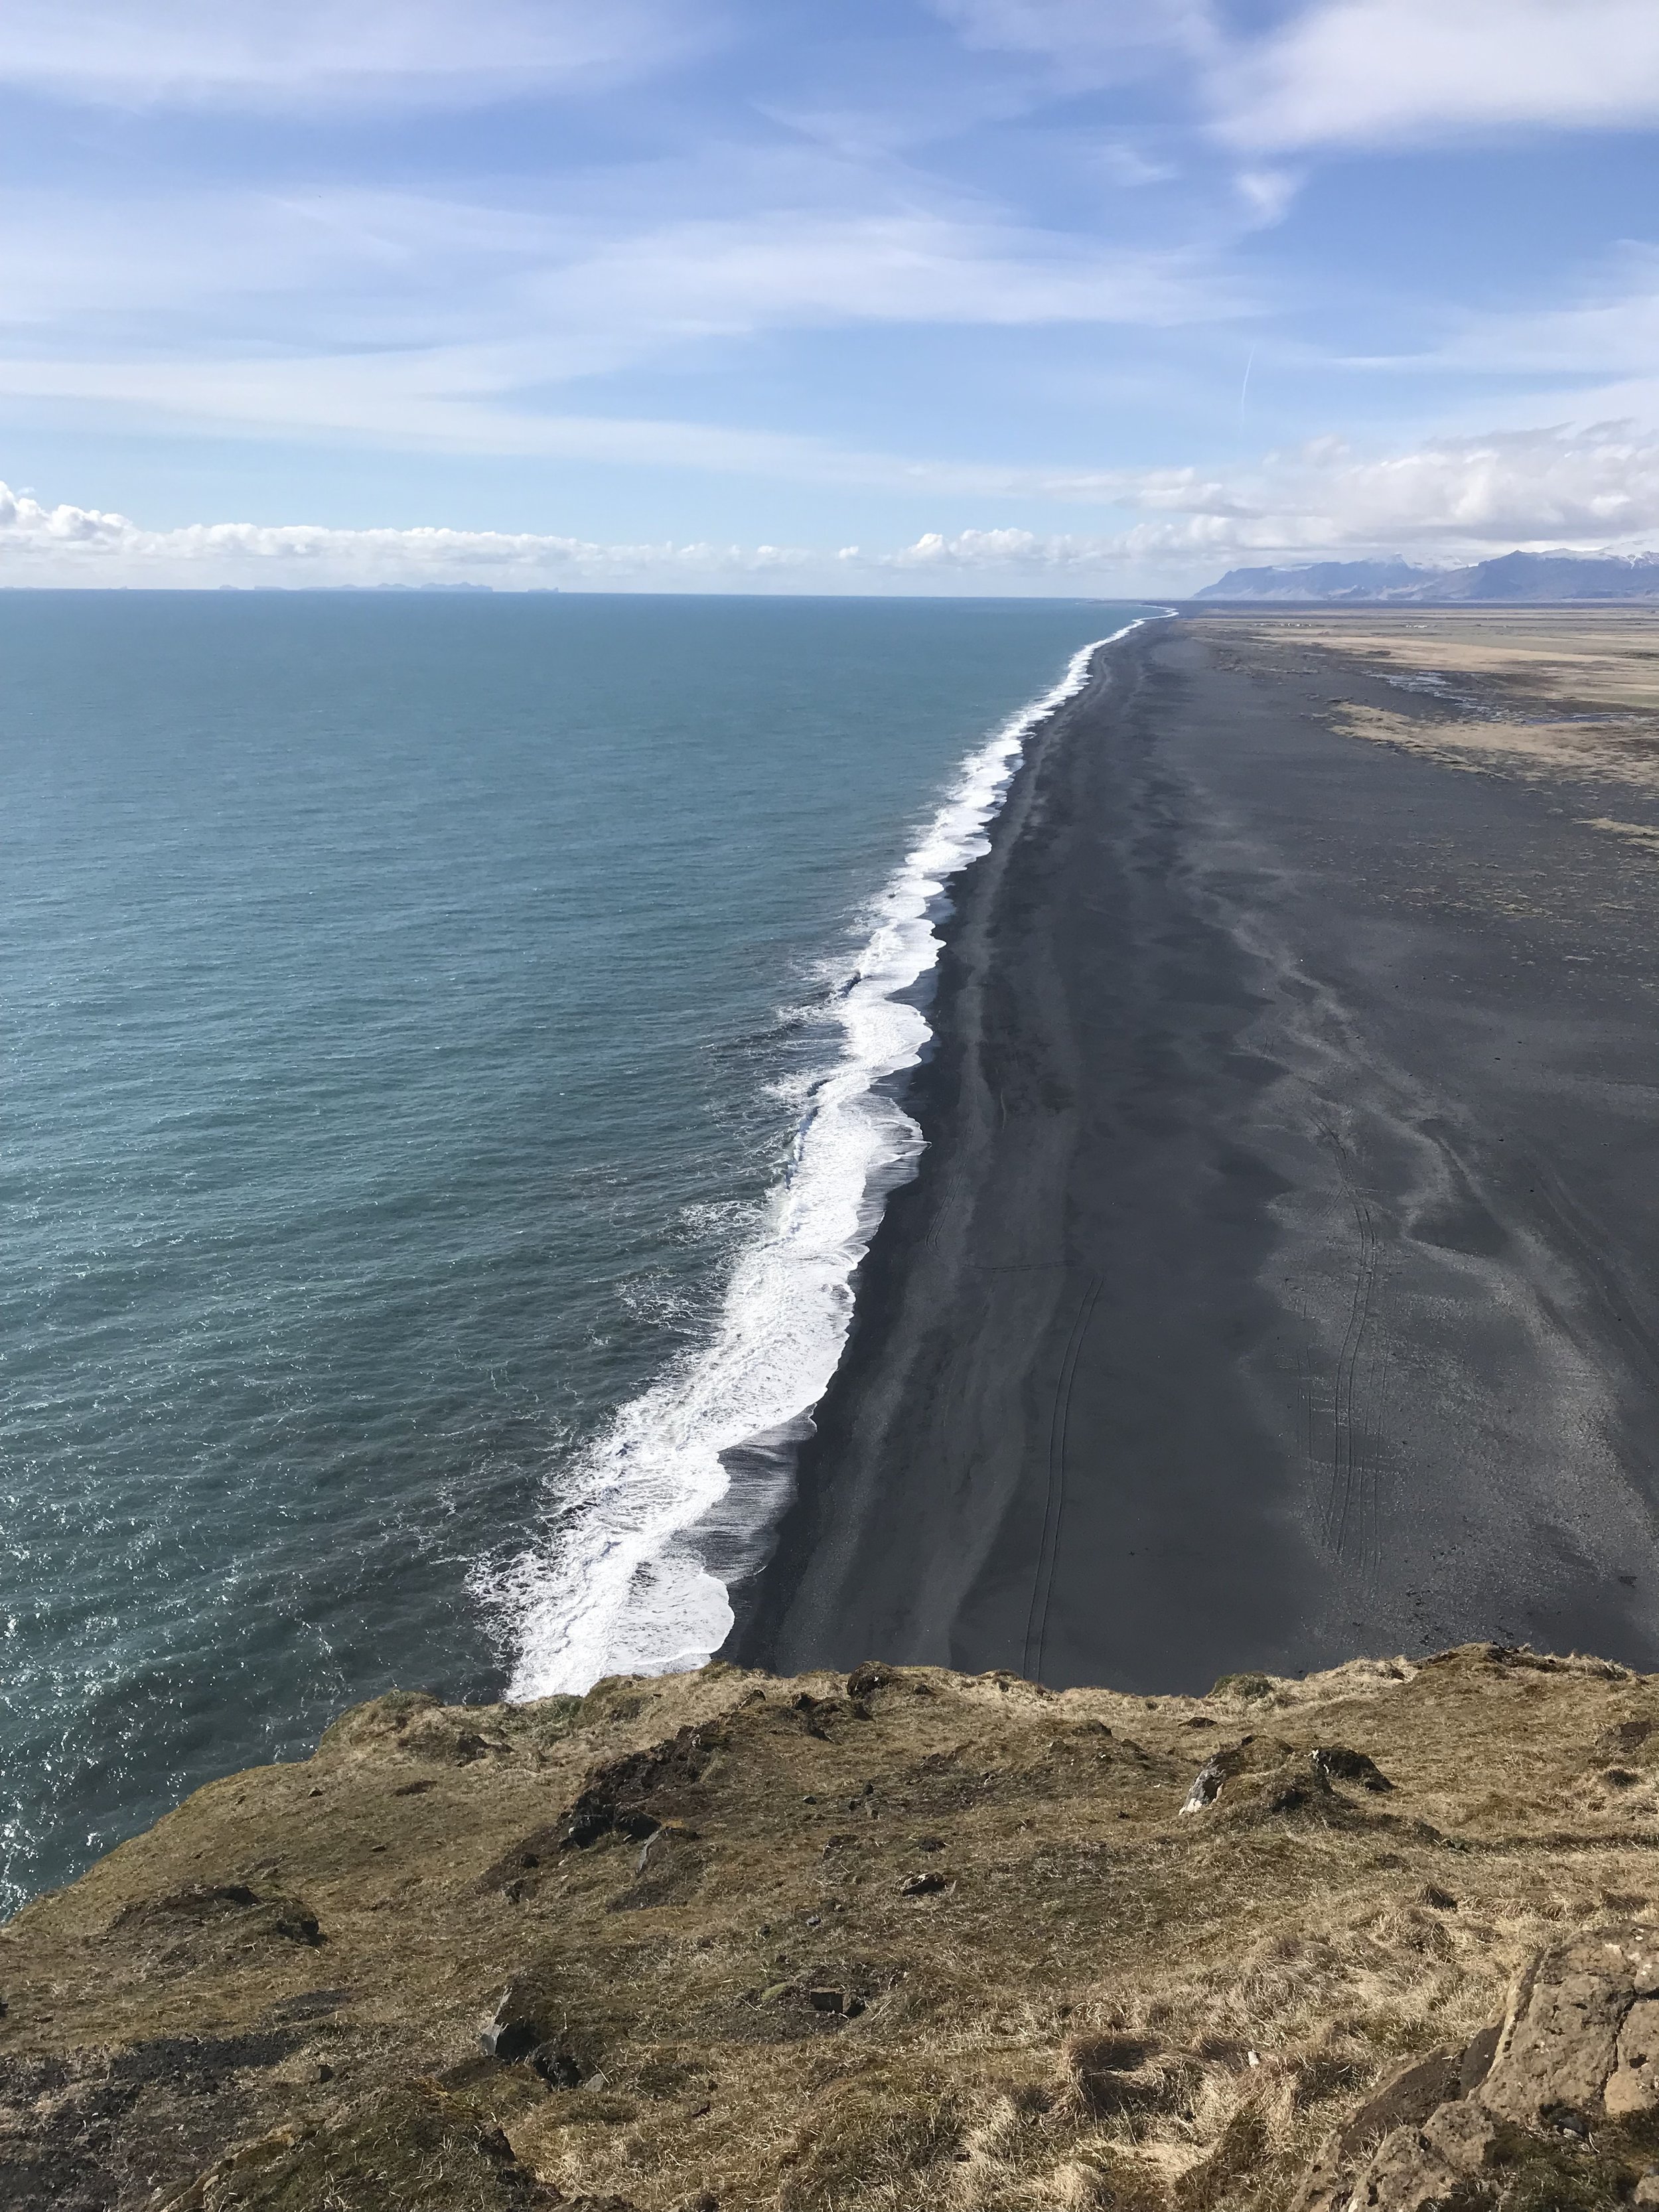
Dyrholaey.
B TO C: VIK TO HOFN
The road from Vik to Hofn is incredibly scenic with tons to see (when is there not?!). This portion of the ring road is where you'll find Skaftafell National Park, the glacial lagoon of Jokulsarlon, and several glaciers. At these locations you have opportunity to explore ice caves, go ice climbing, or even walk along glaciers.
Hofn is a very pretty port town that offers tasty local seafood. If you arrive before sunset I strongly recommend a visit to Stokness to explore. It's only a few miles down the road and well worth a trip.

Jokulsarlon
C TO D: HOFN TO EGILSSTADIR OR SEYDISFJORDUR
Traveling the ring road from Hofn to eastern Iceland presents a few optional shortcuts. If you're staying true to the ring road then you will pass along many fjords. Eventually, you will come upon the largest city in east Iceland, Egilsstadir. I suggest going a bit further east to the coastal town of Seydisfjordur where you will have spectacular view of the coastline and some artsy shops to look around at.

Seydisfjordur
D TO E: EASTERN ICELAND TO MYVATN
If you're looking to spend some time in northeast Iceland, I recommend Bakkagerdi for puffin watching. Another popular spot is Dettifoss. Dettifoss is one of the most powerful waterfalls in all of Europe. Moving westward, you'll reach Myvatn.
Myvatn lies in the northernmost part of Iceland. It is full of geothermal wonders, including the Myvatn hot baths, a more scenic and less expensive version of the Blue Lagoon. Don't forget to check out Grjótagjá caves as well. If you're looking for some hiking, I recommend Hverfjall crater.

Myvatn hot springs
E TO F: MYVATN TO AKUREYRI
As you move west from Mvyatn you reach Akureyri, the capital of the north. This place is just lovely. Tucked between fjords, the city center is the largest outside of Reykjavik. Whale watching is available here, as are many places to eat and find lodging. I recommend venturing out into the smaller towns on the outskirts of Akureyri, located further north, up the fjords. Make sure to see Godafoss on your way into Akureyri. Godafoss is a powerful and impressive waterfall that is well worth teh detore.

Godafoss
F TO A: BACK TO REYKJAVIK
From Akureyri to Reykjavik there is the famous Kirkjufellsfoss - a must-see on your return trip home.

Kirkjufellsfoss
THAT'S A WRAP!
Remember that these places are only a general overview in helping you form your own unique ring road experience. Quite honestly, there is too much to see and do in just a week. But if a week is all you have, well then, this may be a good start.
Looking for more information regarding Iceland? Don't forget to check out my other blog post. As always, I'd love to hear from you about what's been helpful and what I missed.