TRAVEL

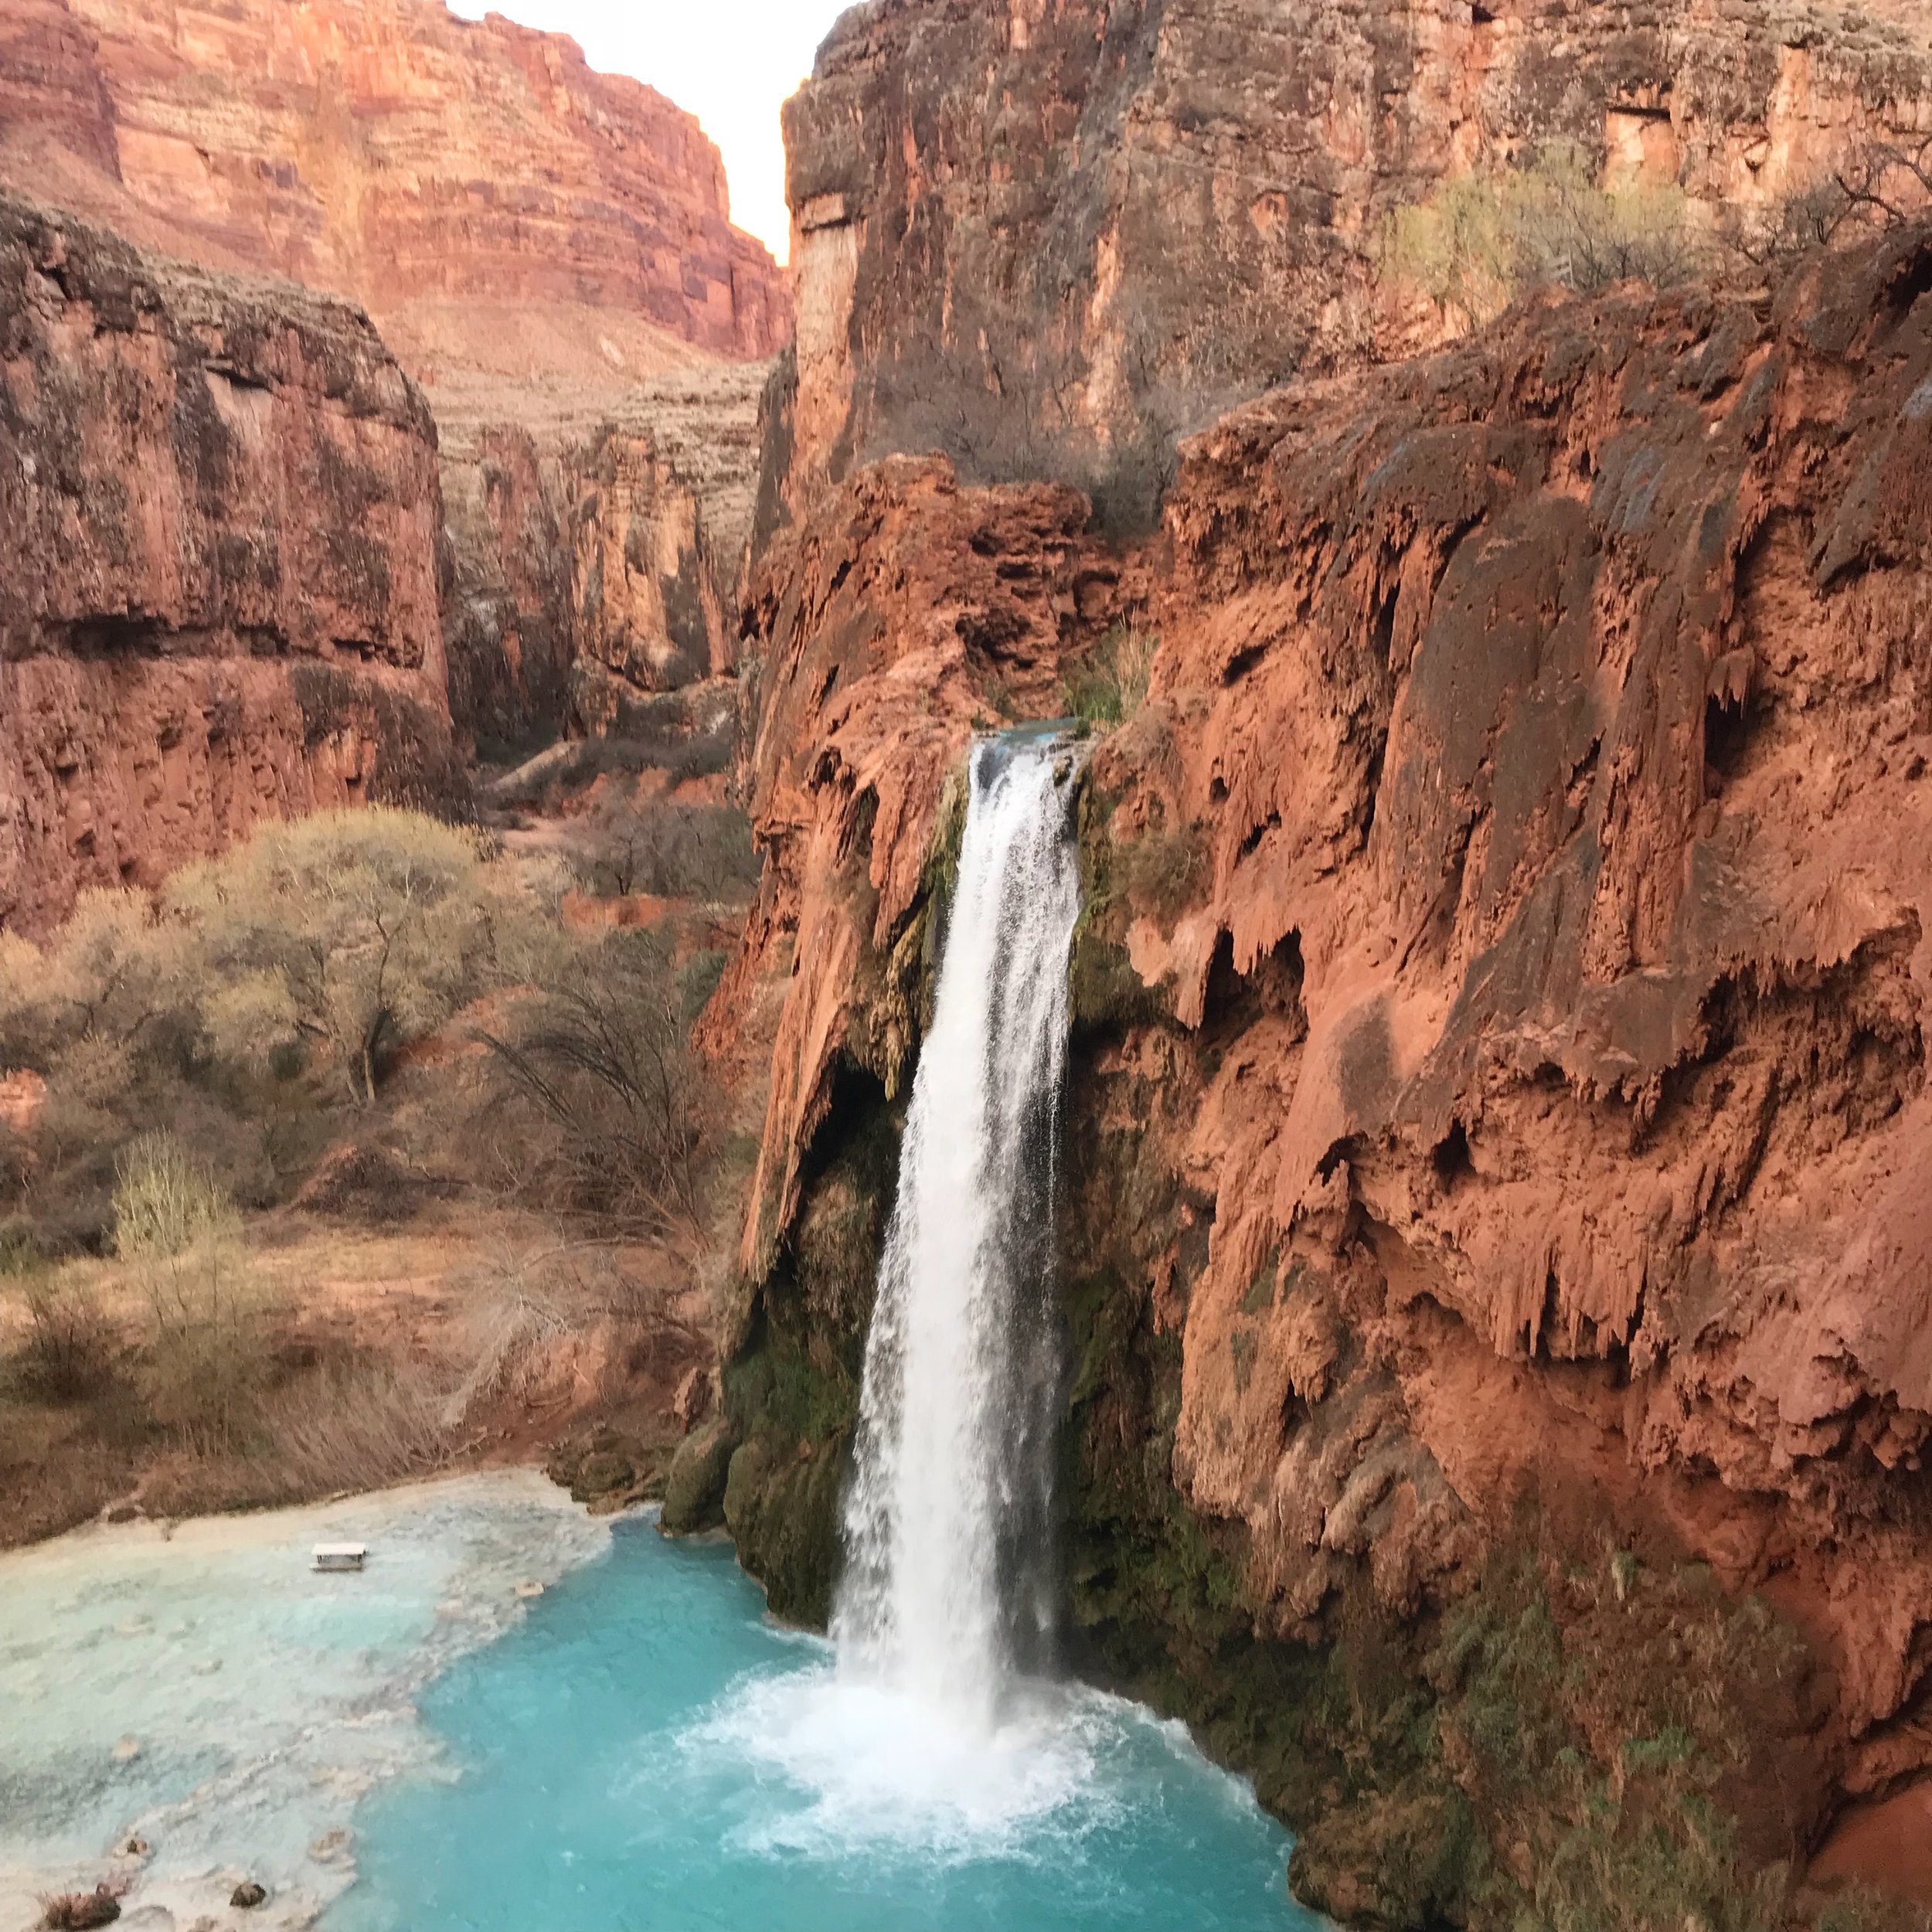
HAVASUPAI (& THE GRAND CANYON CONFLUENCE)

IMG_4903.JPG


WHAT?

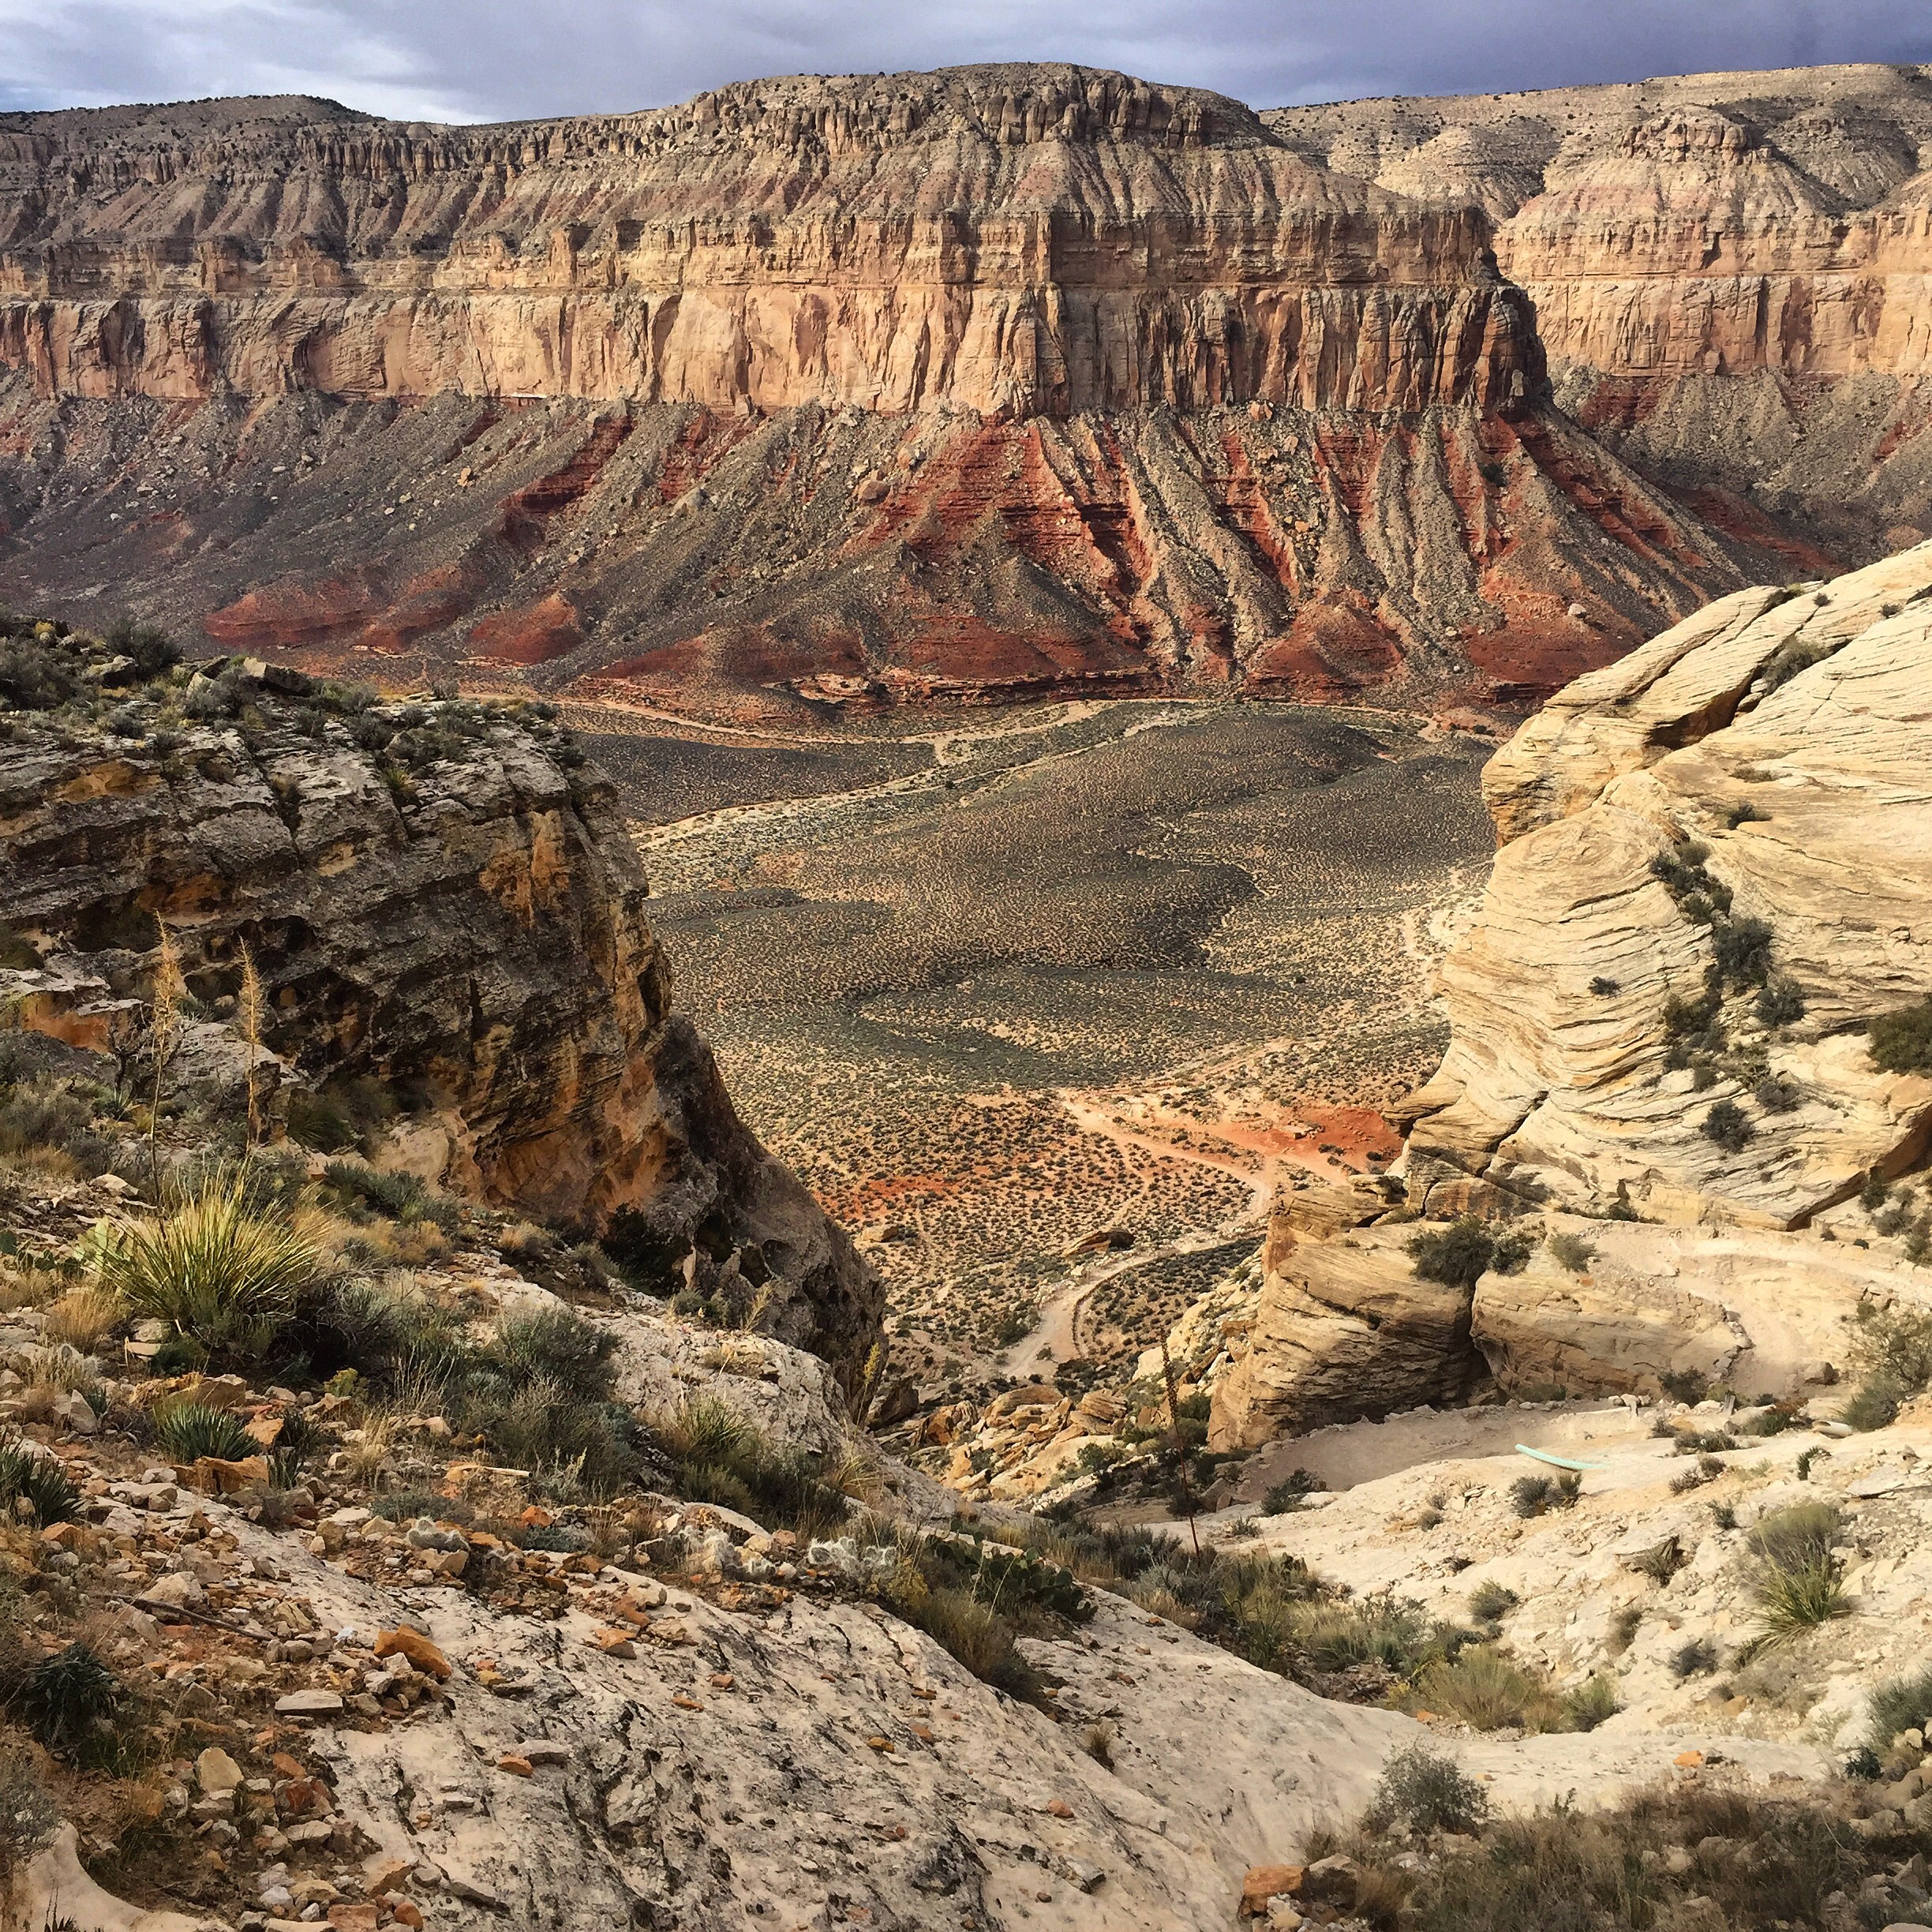
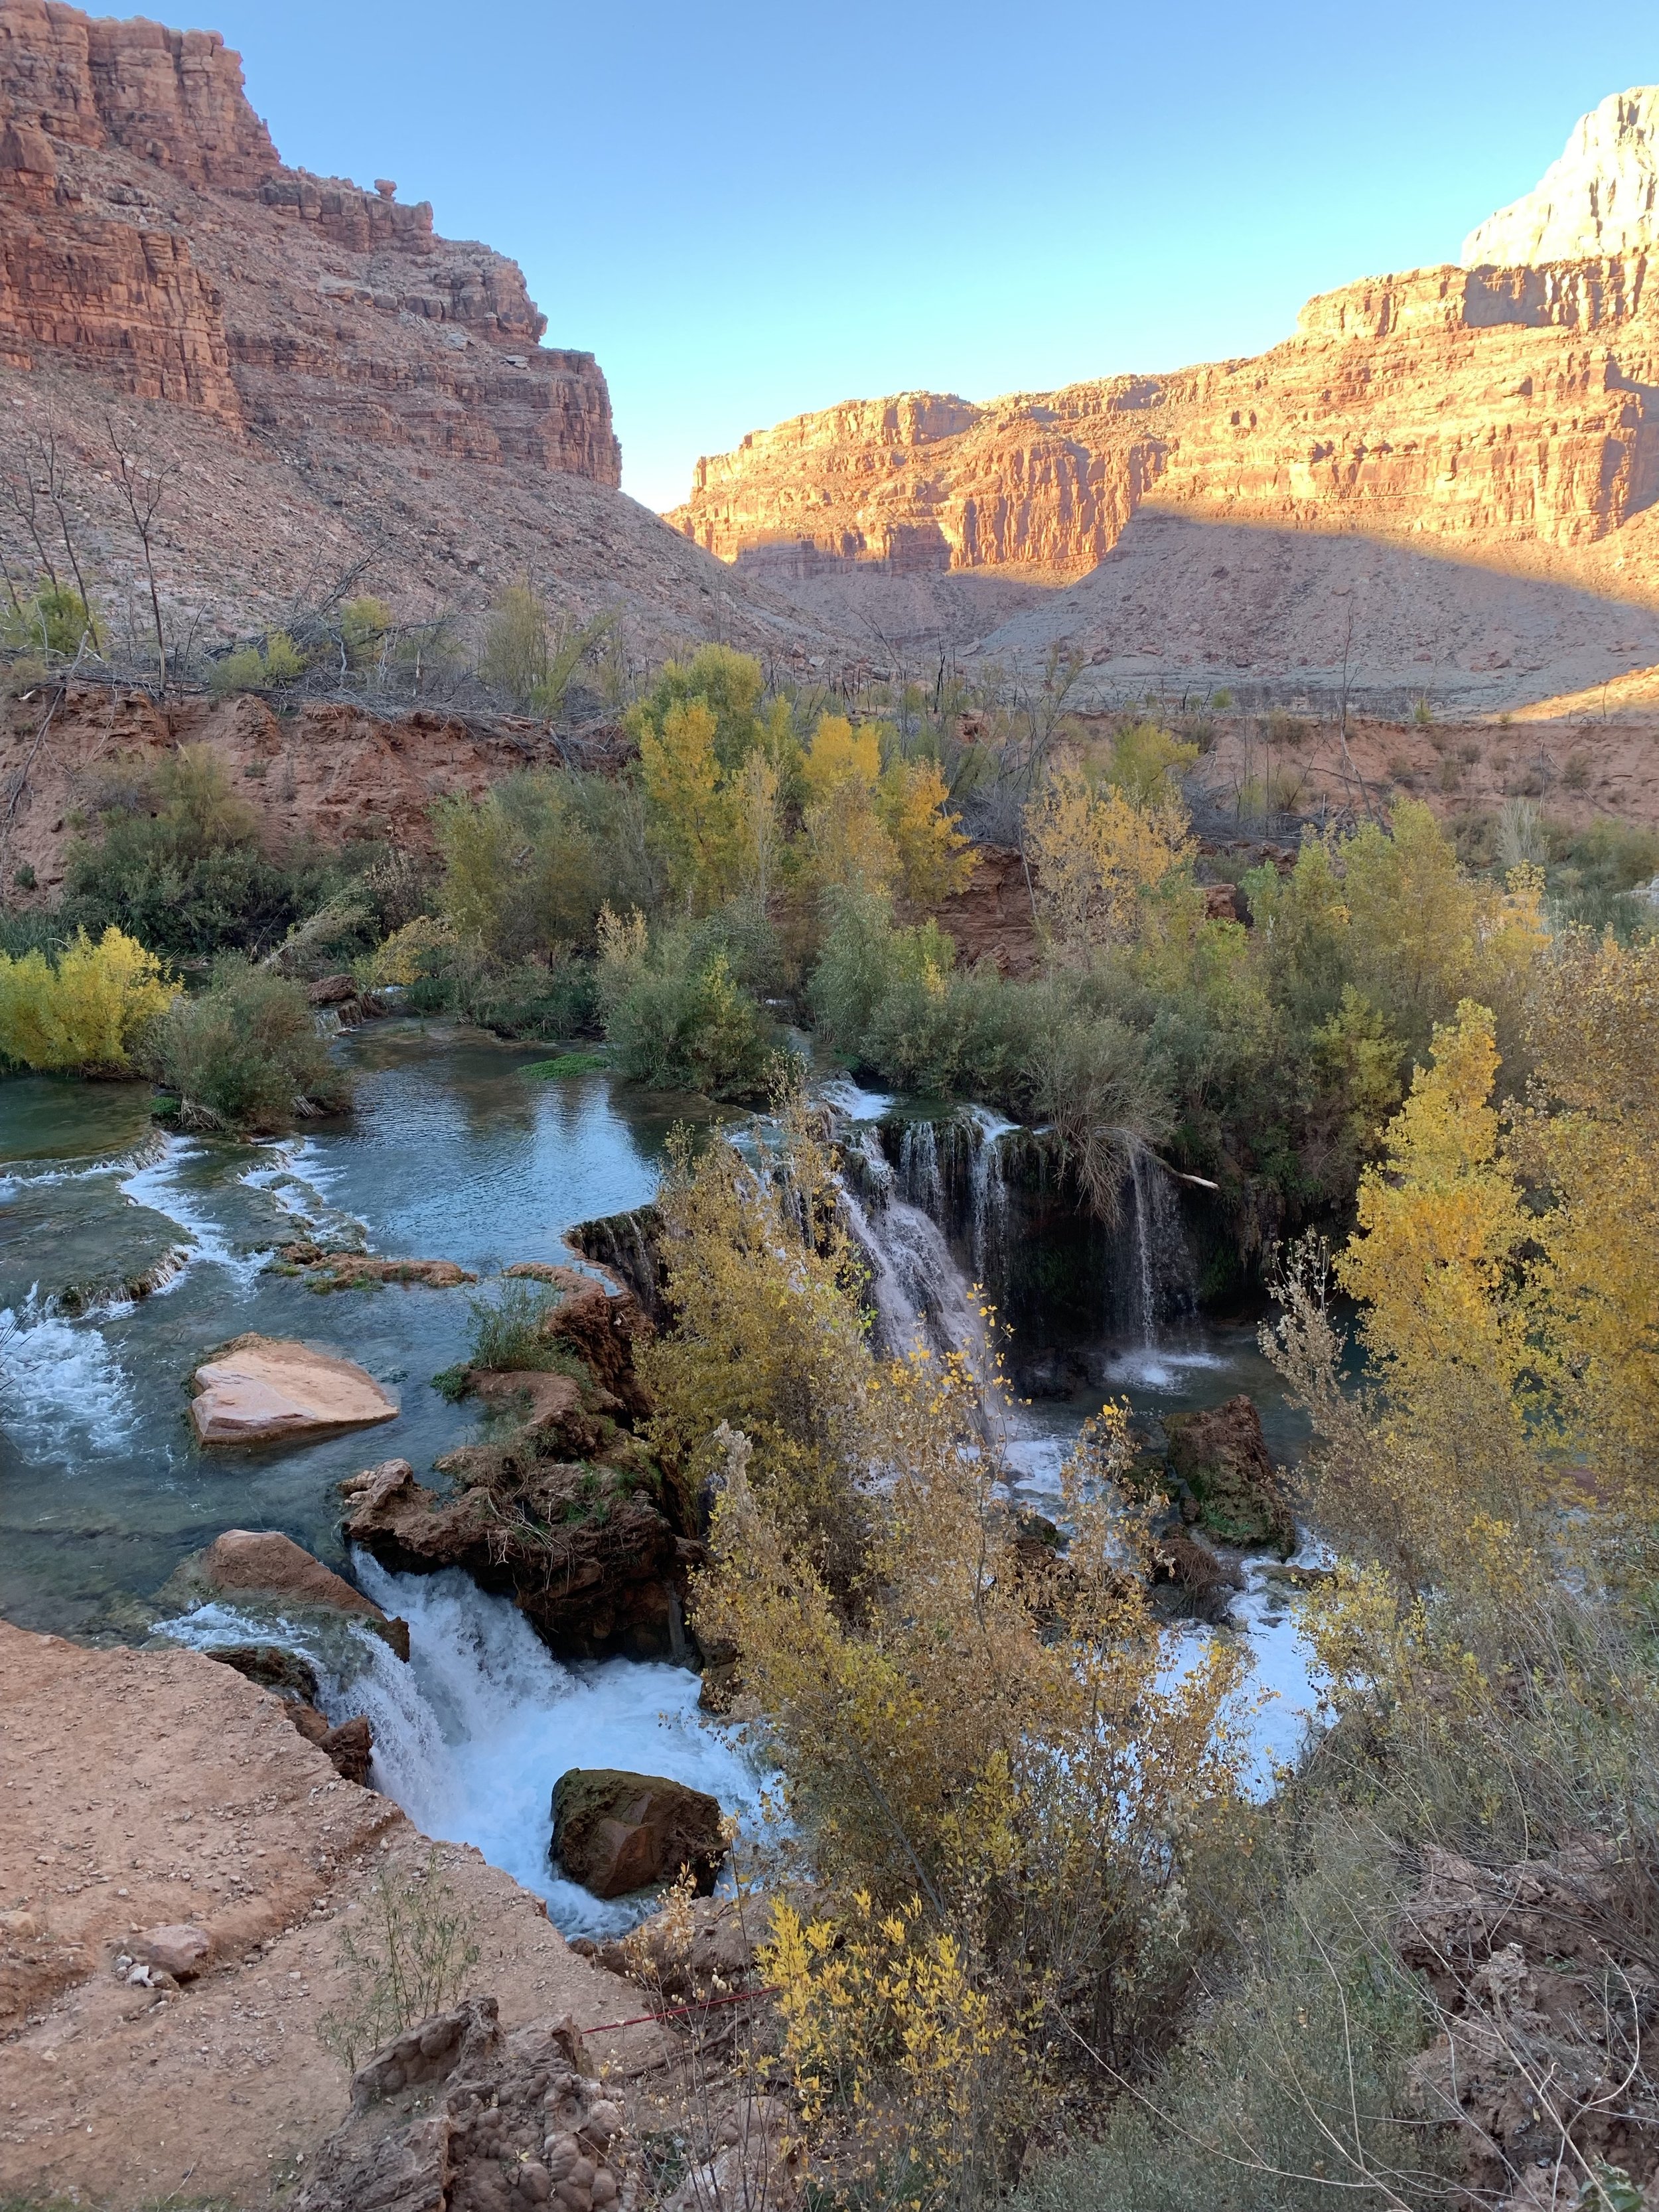
One the most beautiful places on earth.


HOW DO I GET HERE?

First things first. You’ll need a reservation. Here’s what to do.

  1. Remember this date: FEBRUARY 1ST. This is when you can begin making reservations.

  2. Remember this website: http://theofficialhavasupaitribe.com. This is where you can sign up for reservations. Spots fill up FAST! Make sure you sign up immediately after reservations open.

While this blog will provide a brief overview for your trip, the website above will provide more in-depth details about how much permits cost, how many days you can stay, and further rules and regulations for staying in Havasupai.

HOW DO I GET HERE (PART 2)?

You’ve got your permit! Great! Here’s how to get here.

By car: Take the 1-40 to Seligman, AZ (I strongly recommend eating at https://www.westsidelilos.com/ before and/or after your experience in Havasupai). From Seligman take Indian Route 18 to the Hualapi Hilltop. Here you can park your vehicle and prepare for the next leg of your trip.

To get to Havasupai Village you’re most likely taking one of two ways:

  • Hiking in: Prepare yourself for an 8 mile downhill hike to Havasupai village where you will check in and receive confirmation of your online permit. It’s another 2 miles from here to the campground but if you’re staying at the Lodge then you’re already there. You can always pay a small fee for your backpack to be carried up and/or down the trail by mule.

  • Helicopter ride: 85$ one way. A short 10 minute ride from the Hualapi Hilltop to Havasupai Village. Please visit this website for more details: https://waterfallsofthegrandcanyon.com/havasu-falls/havasupai-helicopters/

WHERE DO I STAY?

Most people stay at the campground, 10 miles from the trailhead. Several eco-friendly bathrooms and a fresh water spring are available at the campground.

Lodging is also available at the Havasupai Lodge. Reservations begin in the summer months.


WHEN SHOULD I GO?

Havaupai is open from February to the end of November. Summer months (May-August) are the best time to get in the water BUT they are also the most dangerous for hiking with temperatures rising past 100 degrees fahrenheit. These months also include monsoon season, and heavy rains can bring very dangerous flash floods to the area. Please be mindful of weather patterns and plan accordingly. Many people suffer heat related injuries (even up to death) every year while in Havasupai and in the Grand Canyon wilderness.

THE CONFLUENCE (HAVASU CREEK MEETS THE COLORADO RIVER):

For those of you here for details regarding the hike to the confluence: Bring plenty of water for the day (3 liters has typically been enough for me). Pack a lunch, bring snacks, and plan on having dinner back at the campground. I strongly suggest beginning your day from the campground no later than 8AM as you will be in for 14-18 miles (or 7-10 hours) round trip of hiking. The mileage varies depending on where you stay in Havasu Campground and also because you will be crossing the Havasu Creek 9-10 times. Route finding can be tricky and rock cairns will serve as your best friend. You will get wet on this hike, although the water crossings have never been higher than my thighs. I suggest wearing a pair of shoes that you don’t mind getting wet and that you don’t have to take off each time you cross the water. This will help cut down on time and energy.

People that do this hike will usually include a small visit to Beaver Falls which is along the way. By this time you will have crossed the Havasu Creek 3 times. The Beaver Falls area is also the area you will be leaving the Havasupai Reservation and entering Grand Canyon National Park. Along the trail, just before Beaver Falls, there is an option to turn left and go to the falls or to continue straight over a large hill and into the Grand Canyon. As you choose to continue straight you will reach a sign that designates you are leaving Havasupai Reservation. Make your way down the large hill and you will meet up again with Havasu Creek. From here you’ll have another 4-6 miles to the confluence, and you’ll cross the creek another 6 or so times. The trail is beautiful but can also be hard to find at times. Be on the lookout for cairns to help guide the way. You may even encounter Bighorn Sheep if you’re lucky.

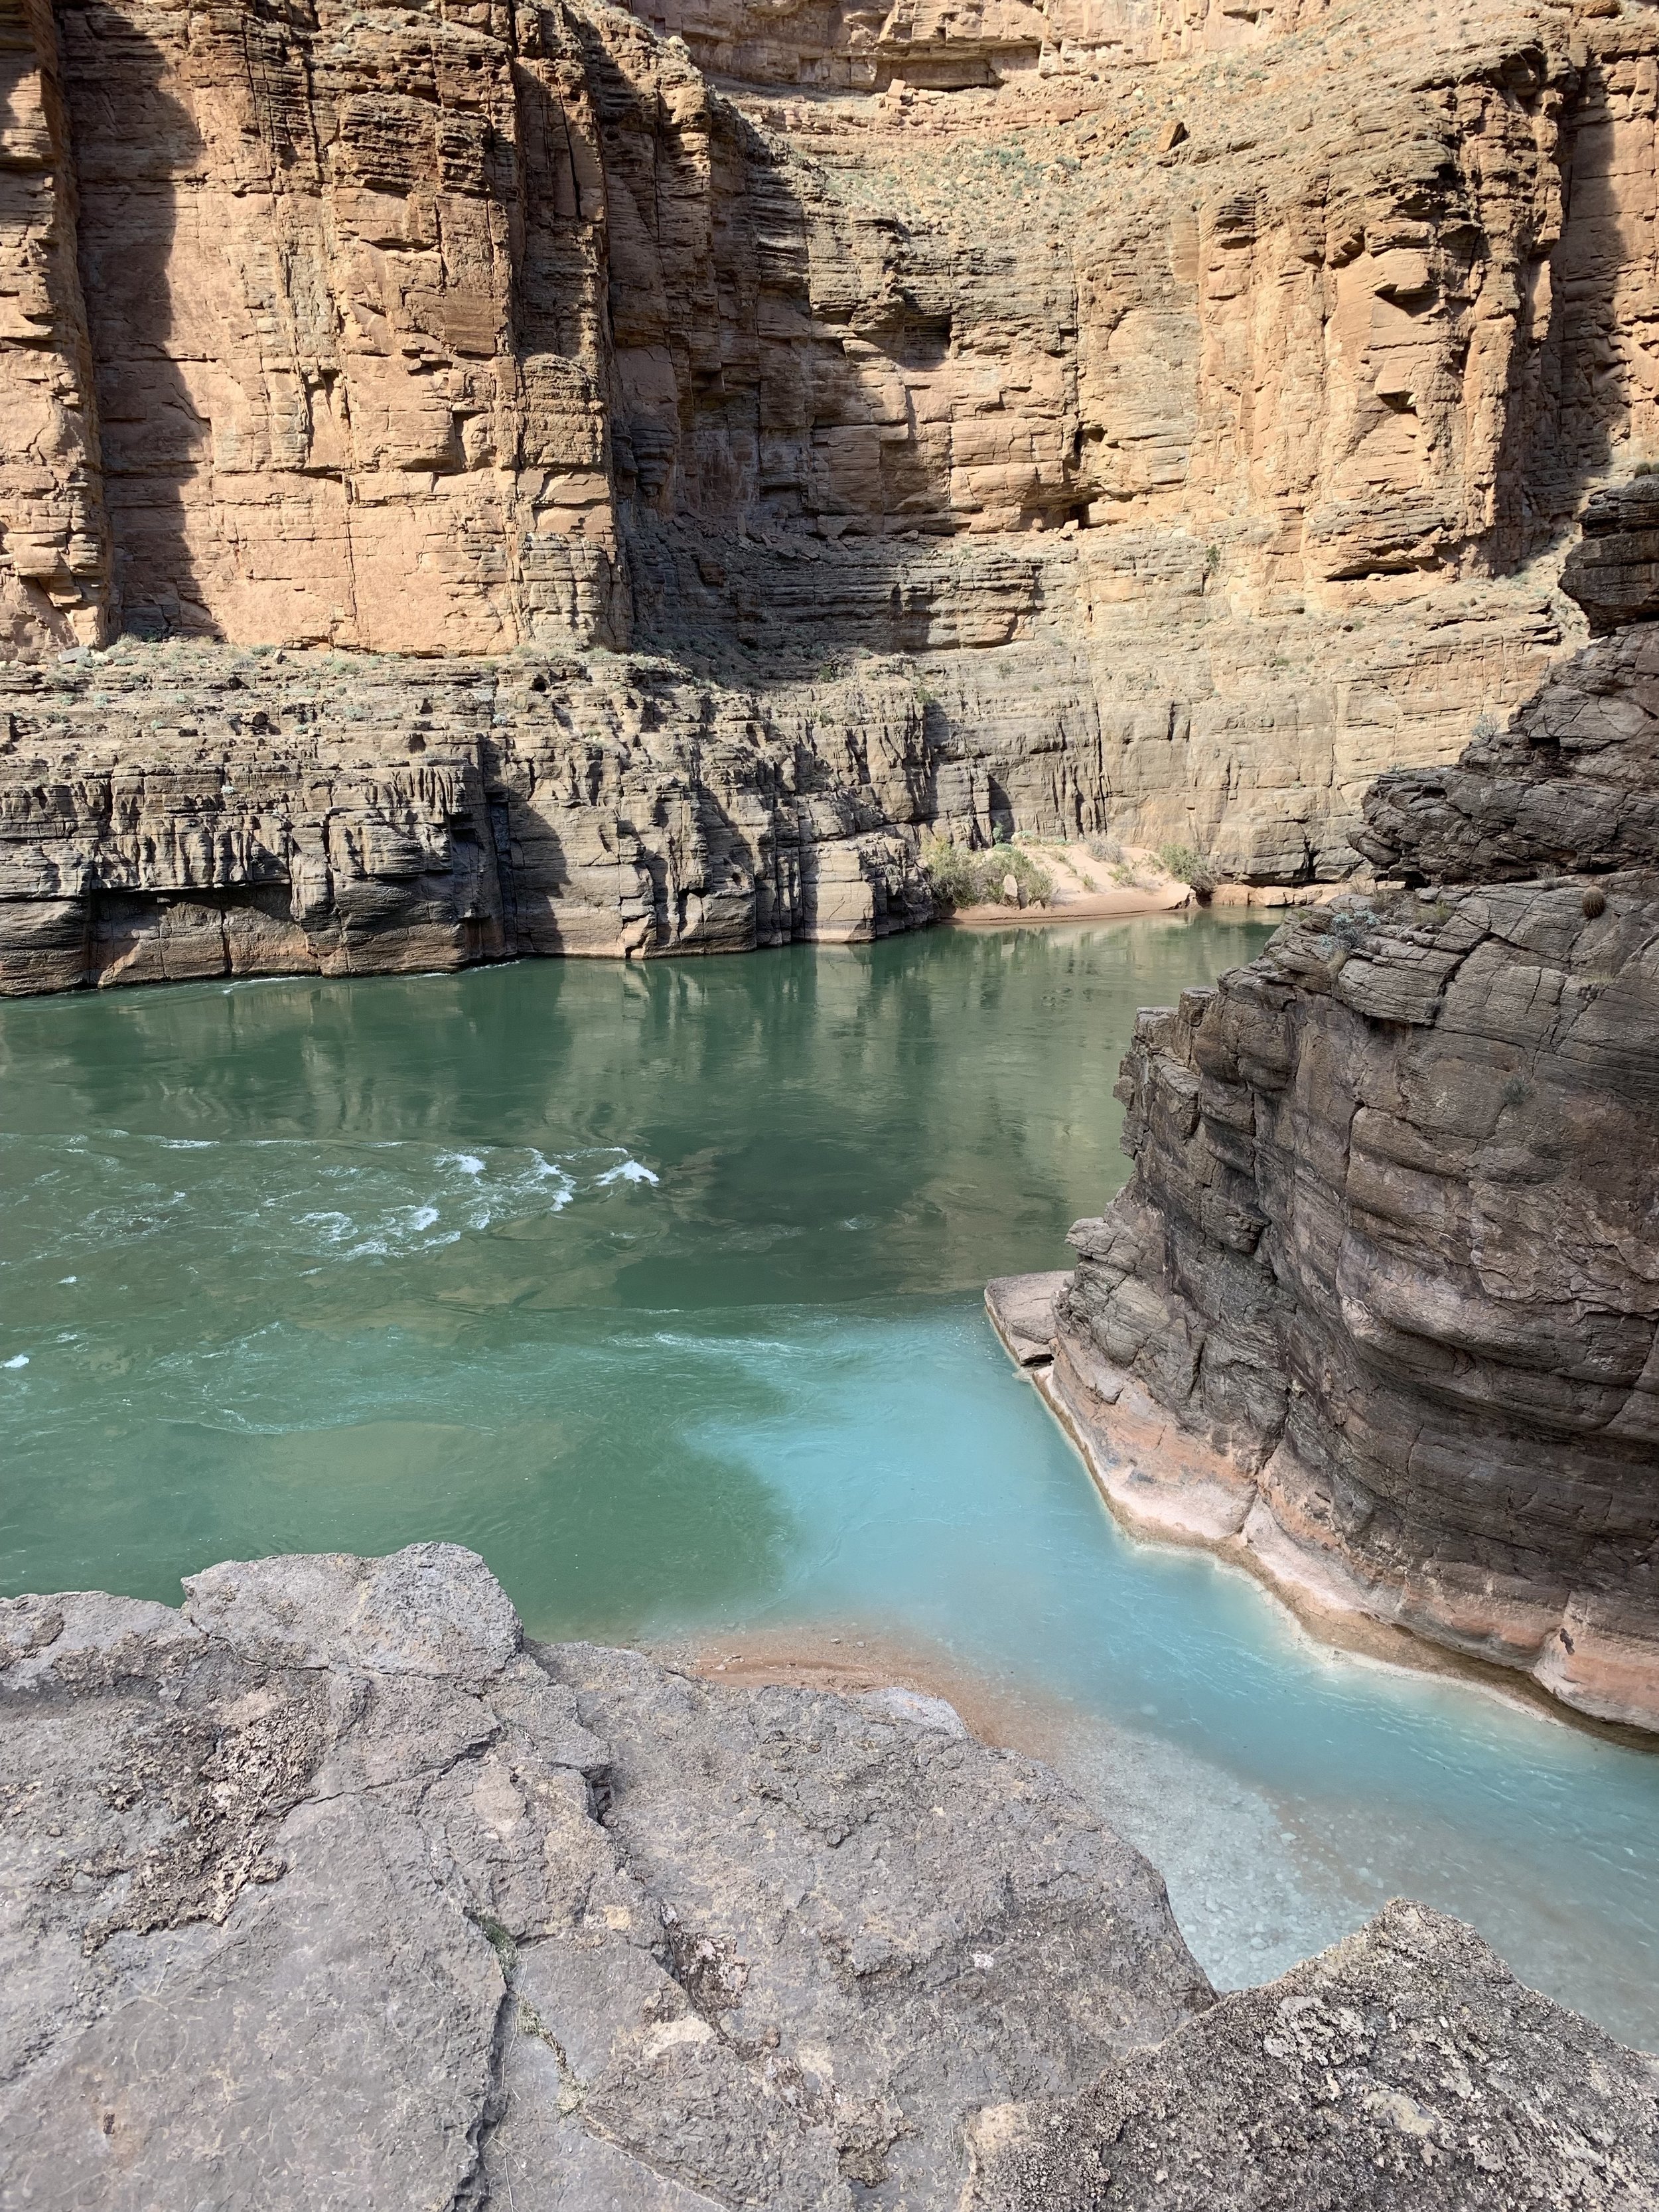
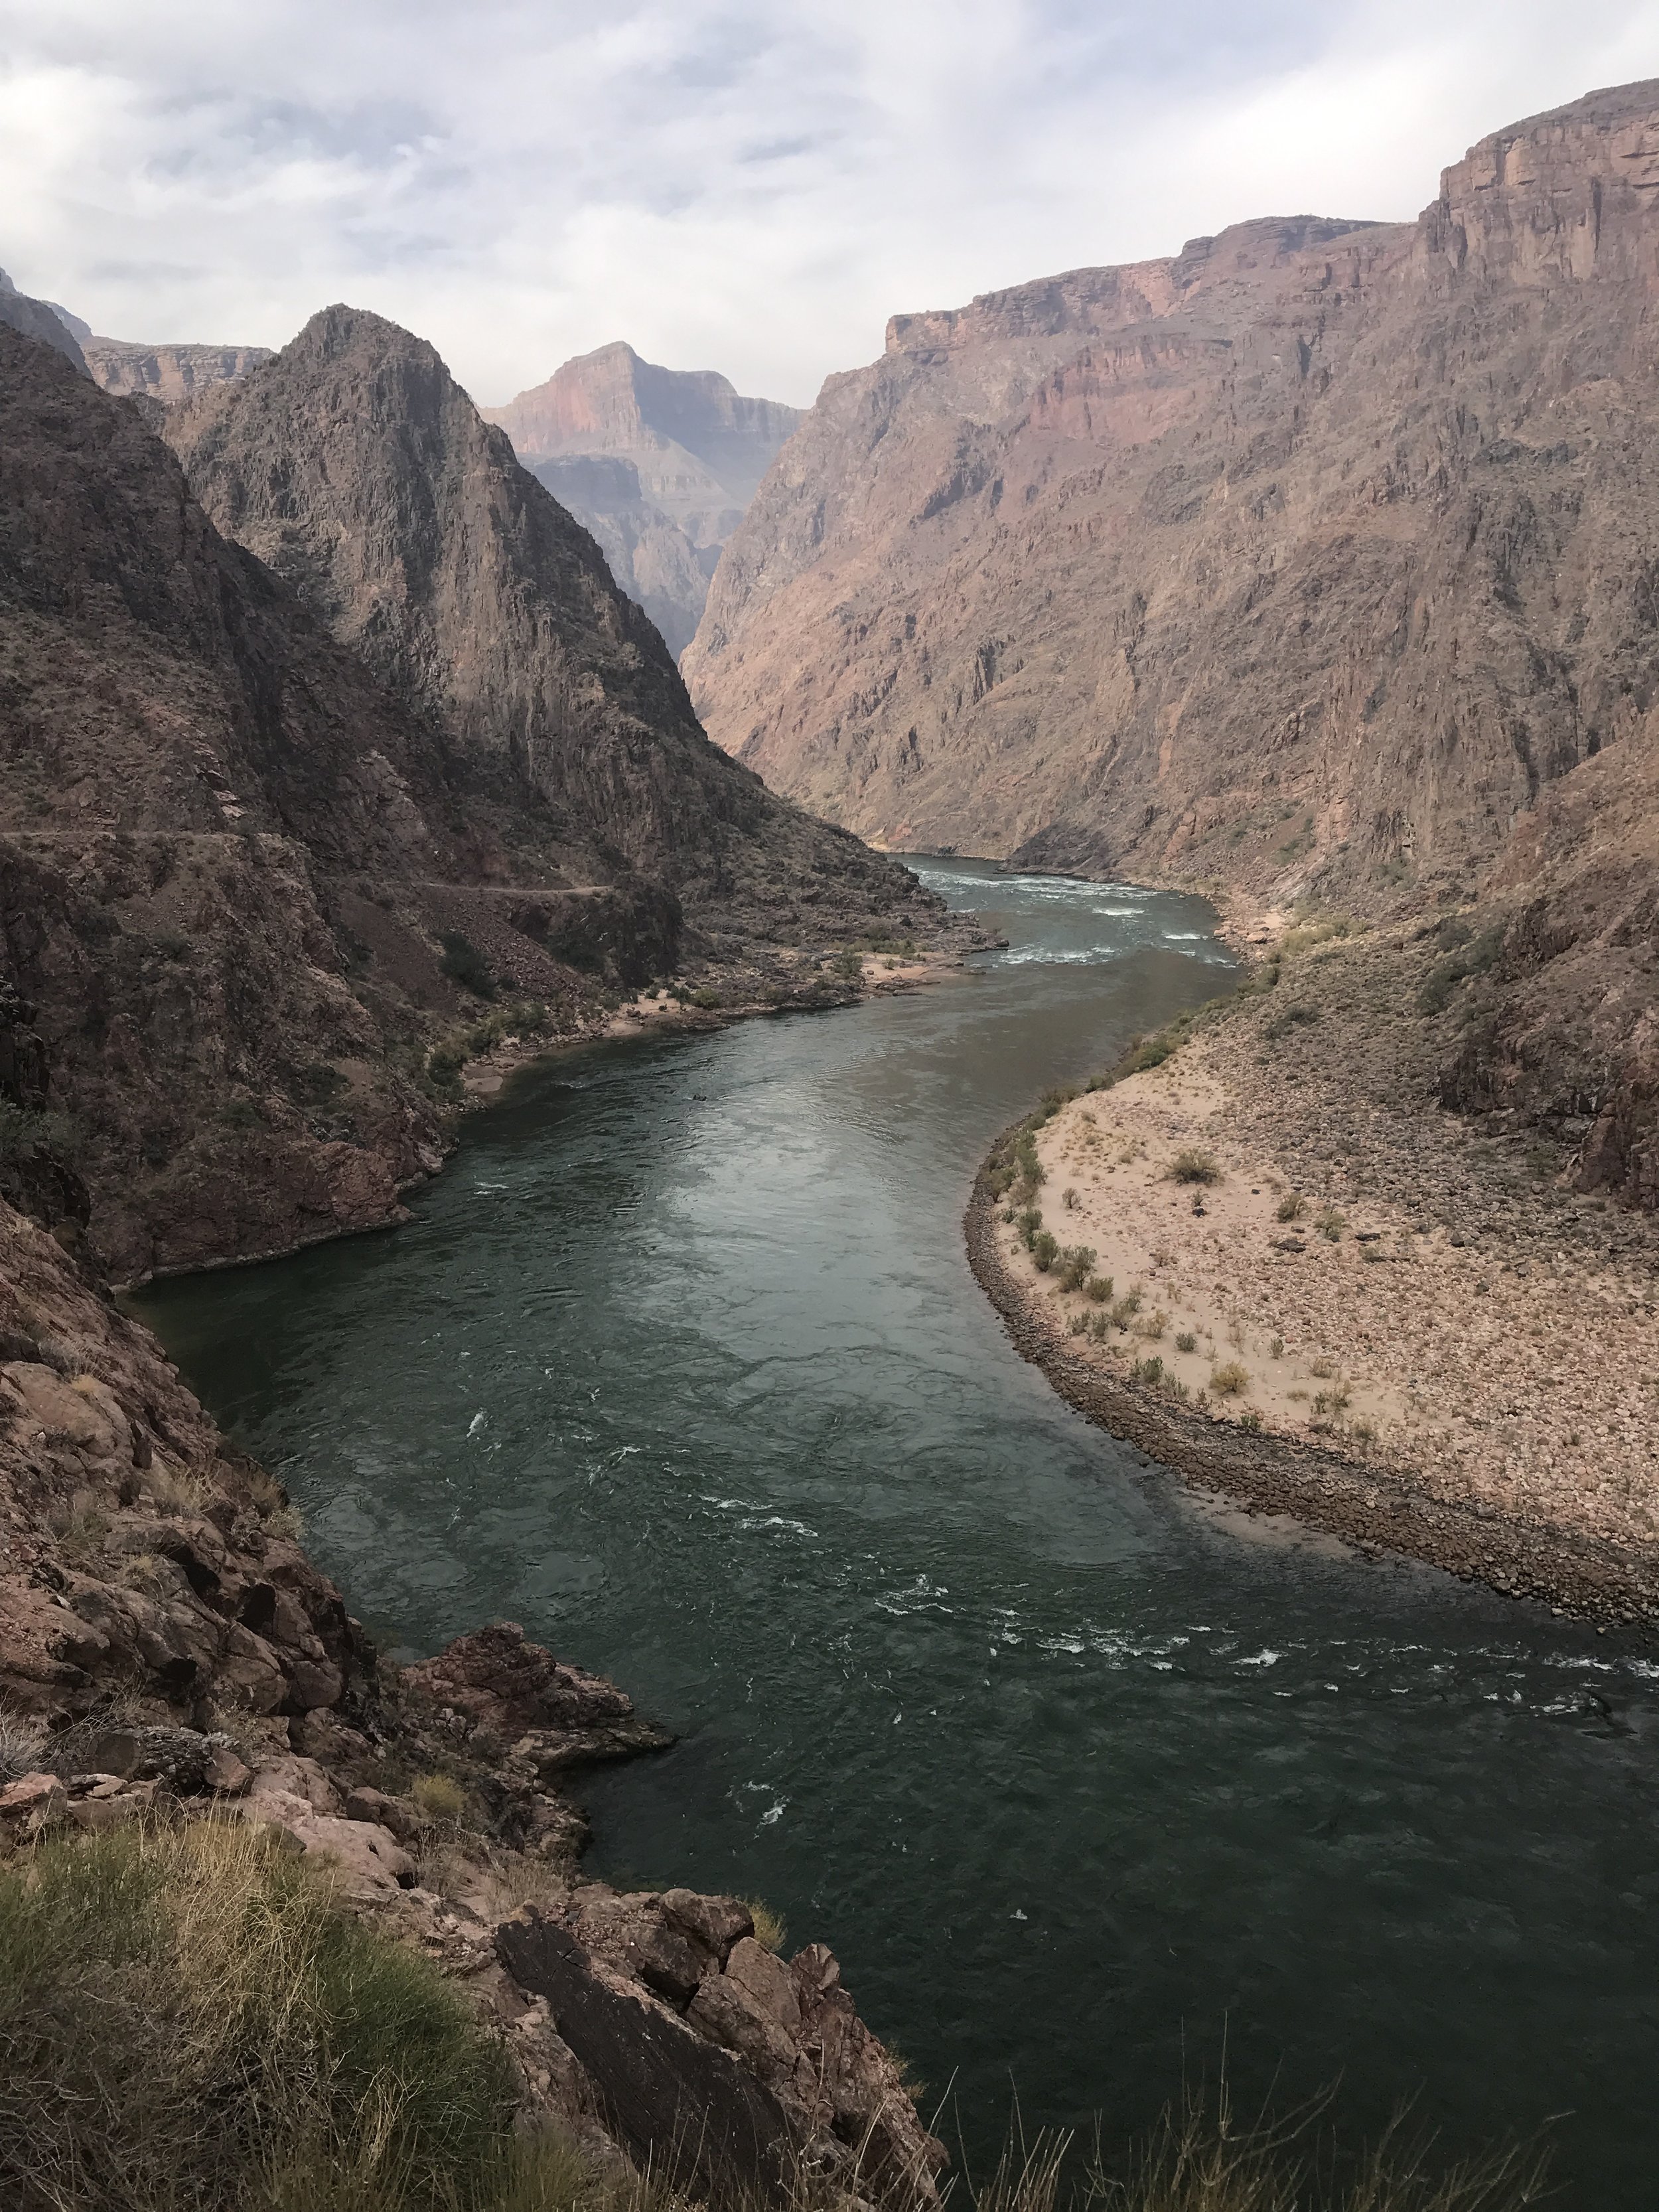
The confluence is a popular place for river rafters to dock their rafts and do day hikes up Havasu Creek. When you arrive you will see the beautiful blue waters of Havasu Creek meet the roaring grey waters of the Colorado River. It’s quite a sight to see. Congratulations! You are now a part of a small group of people that have made it this deep into the canyon.


WHAT WILL I SEE? (SPOILER ALERT)

In order of appearance:

TRAILHEAD (START)

IMG_9124.JPG


HAVSUPAI VILLAGE (8 MILES IN)

NAVAJO FALLS (9 MILES IN)

GgwXVyXSTz6eW55RKRf22Q.jpg


HAVASU FALLS (10 MILES IN)

cIt8OsPuThW09LcdZBi+pA.jpg

HAVASU CAMPGROUND (10 MILES IN)

x9zGHccTTEOiRBMbffGXFA.jpg

MOONEY FALLS (10-11 MILES IN)

3oMuYRDKQemmfSfJNWJf0Q.jpg


BEAVER FALLS (12 MILES IN)

IMG_3303.JPG

ADDITIONAL HIKE TO THE GRAND CANYON CONFLUENCE (18-20 MILES IN)
vSqcsuHmRaS8Q+P5yK4NsQ.jpg


RAINBOW BRIDGE

IMG_6828.JPG

WHAT IS IT?

Rainbow Bridge is the world’s highest natural bridge spanning 234 ft. and with a height of 290ft. The bridge is made of sandstone and is a primary example of stream erosion in the Colorado Plateau area. Rainbow Bridge and the surrounding area is considered sacred to the local Native American tribes and is protected by the National Park Service.

WHERE IS IT?

Rainbow Bridge is located in the remote parts of the greater Lake Powell area, just northwest of Navajo Mountain in Southern Utah.

HOW CAN I GET THERE?

  • By Boat:

    Boaters can access this remote location via Lake Powell. A floating dock, the falls and rises with the water levels, is available for boats. From the dock, Rainbow Bridge is a short and easy quarter-mile hike away. Bathrooms are available at the dock. No camping is allowed.

  • By Hike:

    A very long and strenuous 32 mile round-trip hike starts from the northeast side of Navajo Mountain. Camping is available in select areas but not in the designated Rainbow Bridge area. The hike itself is extremely hilly but provides spectacular views of the Lake Powell backcountry. Give yourself at least 2-4 days to hike in and out.

    • How to Get There:

      The trailhead is accessed from Highway 160. Take the 98 North to Indian Route 16. From there go north to Road 434, and then north on Road 487. Road 487 is a 4 mile dirt road. High clearance is strongly recommended. When using Google Maps, “Navajo Mountain High School” will be the nearest location to the trailhead.

    • Safety:

      Please take note that for those attempting the hike to Rainbow Bridge that this is a hike suited for experienced hikers. There are a few spots along the trail for water, but it is scarce. Bring 1-2 gallons of water to start your hike and bring a water filtration device (you will need it). The trail itself is marked by cairns and at times they can be difficult to find…one small deviation from the trail can be deadly. If you do get lost make sure to follow your steps back to the last cairn and begin again. It is strongly recommended to do this hike in a group with experienced hikers. If you do decide to go solo, bring a map or GPS system, and notify someone that you are hiking.

Hiking through the backcountry en route to Rainbow Bridge

Hiking through the backcountry en route to Rainbow Bridge

QqfMa35%SY+GpKpYtlhwvw.jpg
TufbejZ4RW2bRvUvIT3XUQ.jpg

Grand Canyon - RIM TO RIM TO RIM

Looking into the Grand Canyon from Bright Angel Trail

Looking into the Grand Canyon from Bright Angel Trail

AN OVERVIEW:

The Grand Canyon may just be one of the most iconic examples of grandeur in nature. For the more daring adventurers, perhaps one of the best ways to see just how big it is would be to try hiking the Canyon from Rim to Rim to Rim. Of course this hike could be modified in any way, shape, or form. A more popular version of this is simply hiking Rim to Rim (South to North) and placing a car at both ends for pick up. Yet another option is hiking a loop of the South Rim from Bright Angel to South Kaibab, with a park shuttle able to take hikers from the end of the trail to their car.

RIM TO RIM TO RIM - THE ROUTE:

Okay, so you've decided to do the BIG hike. Here's what to expect: 50 miles over rock, dirt, steep cliffs, and winding canyons. While some hikers attempt this hike in one day, I do strongly recommend to do this over two or three days. The route can vary on which Rim and which trail you decide to begin your hike. I will suggest here a route and agenda that worked well for me.  

Day One: Camp at Mather Campground on the South Rim. Tent and car camping is $18 a site. At Mather Campground you are just a few minutes drive to Bright Angel Trailhead.

Day Two: Park car at Bright Angel trailhead and begin the epic journey. Take Bright Angel to North Kaibab. You will pass the Colorado River and then Phantom Ranch (and also many other campgrounds including Cottonwood). Camp at the North Rim. No backcountry permits are needed if camping is done on top of the Rims, but is needed if camping in the Canyon.

Day Three: Hike North Kaibab to South Kaibab. Take the park shuttle from South Kaibab trailhead to the trailhead of Bright Angel to pick up your car.

*Note: You can approximately count on 25 miles of hiking a day from Rim to Rim. It should take an average hiker of good shape and a decent pace from 10-14 hours of hiking to go Rim to Rim.

WEATHER AND WATER:

Weather is going to be a determining factor in planning your hike. Spring and fall months are gonna be your best bet when temperatures are much cooler. DO NOT ATTEMPT this hike in summer months, or if you do, use extreme caution.

There are water stations along the trail to fill up, however, there is NO WATER available along the South Kaibab trail (please plan accordingly). I carried 4 liters of water on me at all times and I was able to refill at each water station. I had no issues, but remember that everyone is different when it comes to water intake. Having a source of electrolytes is also very important. I suggest Gatorade or Propel packets to mix in water. Coconut water is also a great source of energy. 

VIEWS

Sunrise at Bright Angel Trailhead

Sunrise at Bright Angel Trailhead

The mighty Colorado River flowing through the Grand Canyon

The mighty Colorado River flowing through the Grand Canyon

Views of the North Rim from South Rim

Views of the North Rim from South Rim

WHAT TO BRING:

  • Tennis shoes or a comfortable pair of hiking boots
  • Extra pairs of socks and appropriate clothing.
  • Tent, sleeping bag, sleeping pad
  • 4 liters of water (plus water filter)
  • Meals, snacks (GU Gels)
  • Jet Boil and matches if cooking meals
  • Headlight
  • Sunscreen
  • The list continues...remember that you are hiking around 50 miles so the lighter your pack the better.

* There is food and drink sold at the Lodges at both the South and North Rim. Food and drink is also sold at Phantom Ranch, a set of cottages at the bottom of the Canyon almost directly in between South and North Rim. I would check ahead to see if these locations are open before heading into the Canyon.

CAUTION:

As usual with these kind of hikes make sure that you take the time to prepare yourself. Tell someone else about your travel plans. Pack and prepare adequately, hydrate, and bring enough nutrition to power you through. If you have any questions I'd be happy to answer them. Happy hiking!